Heart Shaped Cake Pops Recipe delivers bite-sized chocolate-dipped hearts with a tender crumb and creamy center that tastes like bakery cake on a stick. It suits date nights, classroom parties, and Valentine gifting, and you can finish a batch in about 2 hours including chill time. I shaped my earliest batch in a tiny apartment kitchen and still smile every time I see those little hearts.
Why Choose This Heart Shaped Cake Pops Recipe
You only need a baked cake, a bit of frosting, and melting chocolate. Boxed mix or bakery cake works, so you can take a shortcut and still get a smooth, truffle-like center. The method stays forgiving and kid-friendly.
You can shape the hearts with a small cookie cutter or by pinching the sides by hand. The cutter keeps sizing consistent, and hand shaping lets you customize. Both paths lead to adorable pops.
“These heart cake pops tasted like mini bites of celebration. The coating set smooth, the centers stayed fudgy, and the kids fought over the pink sprinkles. Five stars from my crew.”
Ingredients You Need
- Cake base: 1 standard 13×9 baked cake, any flavor. Boxed mix keeps it easy, or use bakery pound cake as a shortcut. Red velvet, strawberry, or chocolate fit the theme.
- Frosting: 1/3 to 1/2 cup vanilla or cream cheese frosting. Store-bought tubs work great; I like Betty Crocker or Pillsbury for consistency.
- Coating: 12 to 16 ounces candy melts or melting wafers. Wilton gives bright colors, Ghirardelli melts super smooth. Real chocolate chips work if you add 1 teaspoon coconut oil per cup to help fluidity.
- Thinner: 2 to 3 teaspoons refined coconut oil or vegetable shortening, as needed.
- Decorations: Valentine sprinkles, sanding sugar, mini nonpareils, or drizzle from a contrasting color.
- Lollipop sticks: 20 to 24 sticks, 4 to 6 inches long.
- Optional flavor boosts: 1 teaspoon vanilla extract, almond extract, or strawberry extract.
- Optional fillings: A dab of strawberry jam in the center of larger hearts.
- Pantry shortcut: Use leftover cupcakes and scrape off frosting to mix right in.
Equipment:
- Mixing bowl, spatula, and a fork for crumbling
- Small heart cookie cutter, 1.5 to 2 inches, or hands for shaping
- Parchment-lined sheet pan
- Microwave-safe bowls
- Styrofoam block or a pop stand for drying
- Small offset spatula or butter knife
- Toothpicks for pop rescue and bubble popping
How to Make Heart Shaped Cake Pops
- Prep: 30 minutes active
- Bake: 30 minutes if making cake now
- Chill: 60 minutes
- Total: about 2 hours
- Bake or source the cake. If baking, cool it completely so the crumbs stay fluffy, not gummy.
- Crumble the cake in a large bowl. Rub pieces between your fingers until you see fine, even crumbs.
- Add 1/3 cup frosting and mix with a spatula. Press a bit in your palm; it should hold together like play-dough without cracking. Add 1 tablespoon more frosting at a time if dry.
- Flavor the mix if you like. Fold in vanilla, almond, or strawberry extract.
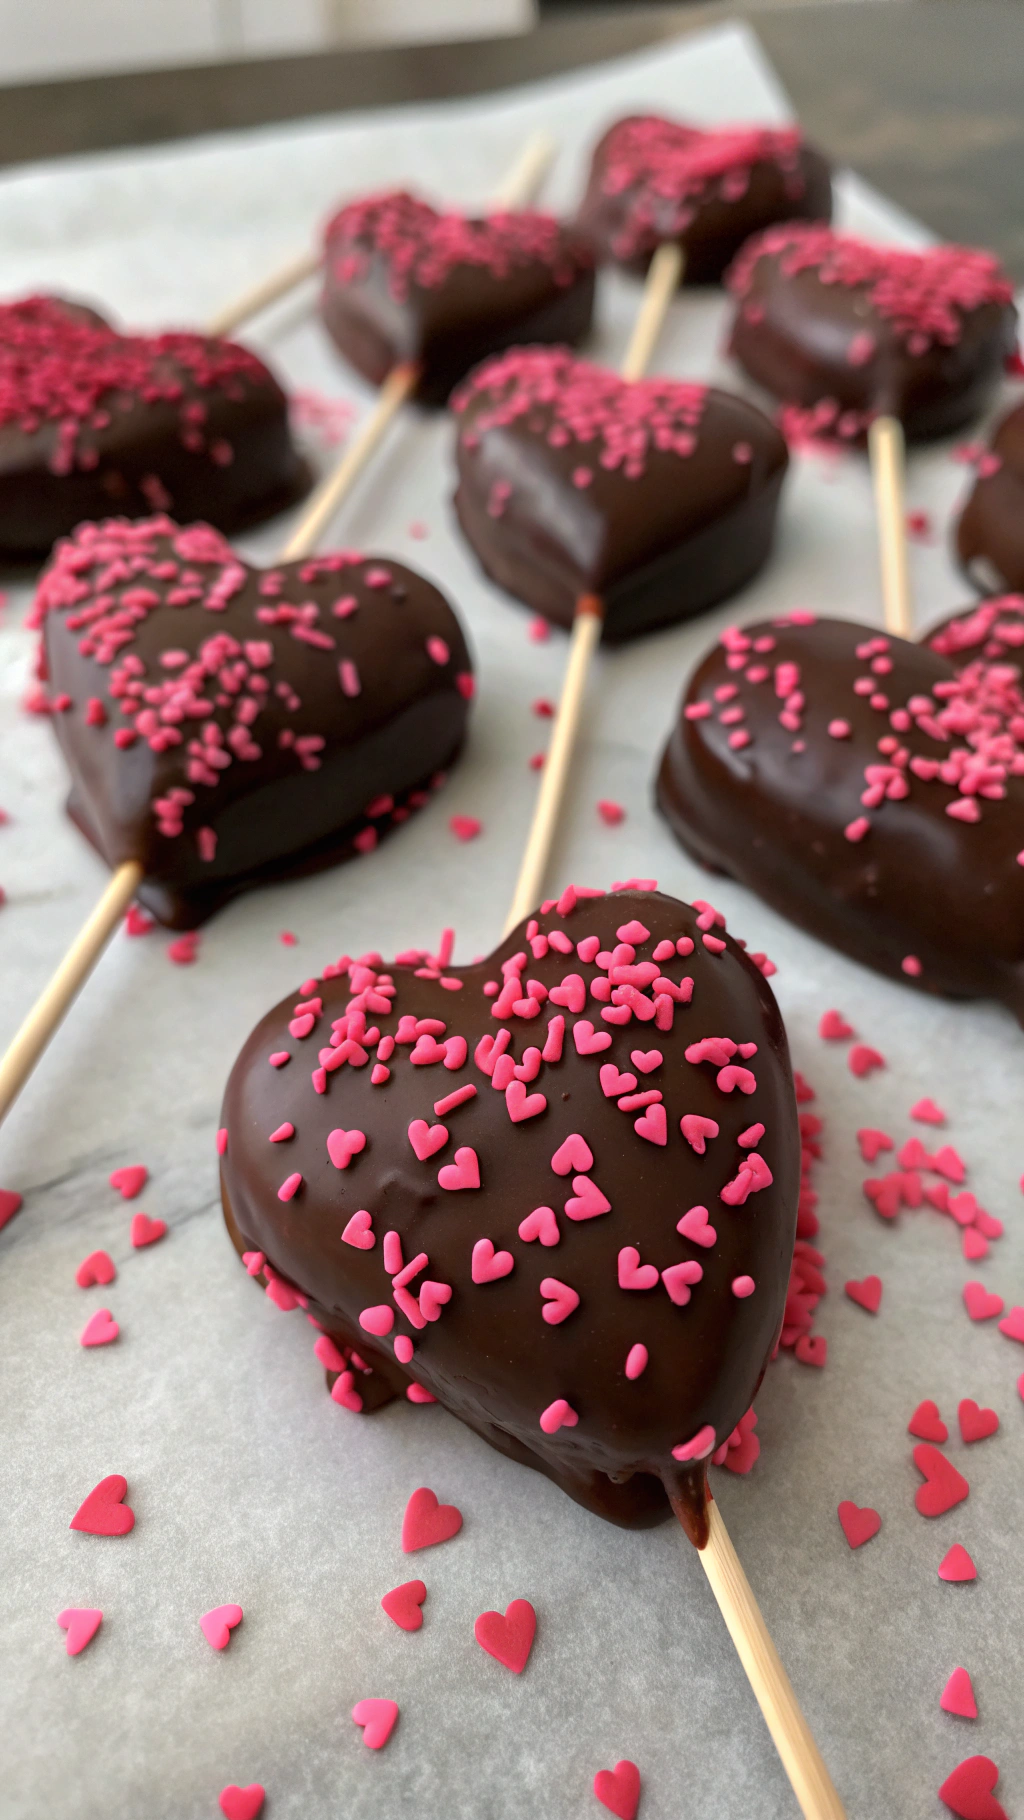
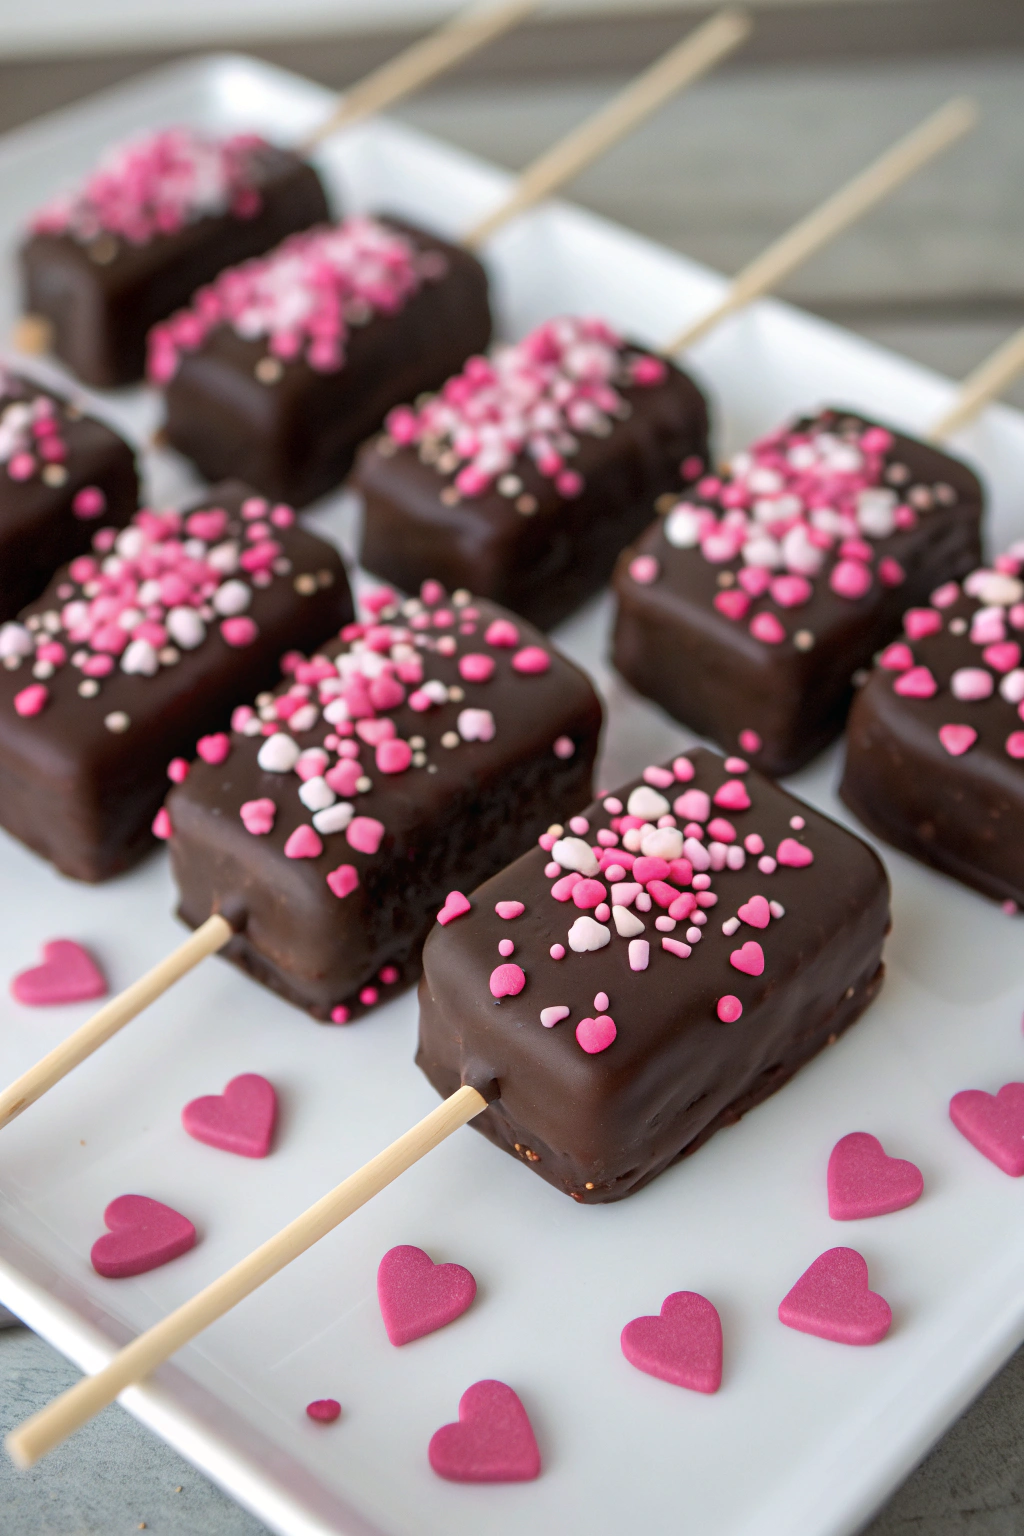
- Line a sheet pan with parchment. Press the mixture to about 3/4 inch thick. Use a small heart cutter to punch out hearts, or pinch the sides of a ball to form a point and press the top to make the lobes.
- Press scraps back together and repeat. Keep sizes similar for even dipping.
- Melt a small amount of candy melts in a bowl. Microwave at 50 percent power in 30 second bursts and stir until smooth.
- Dip 1/4 inch of each stick into the melted coating, then insert the stick halfway into a heart. The chocolate glue anchors the stick.
- Chill the tray for 15 minutes to set the sticks. Cold pops dip cleaner.
- Melt the rest of the coating in a deep bowl. Stir in 1 to 2 teaspoons coconut oil or shortening until the coating flows like warm syrup.
- Dip each pop straight down, lift, and let excess drip while you twirl the stick. Tap the wrist lightly to shake off extra. Use a toothpick to pop bubbles or swipe the bottom edge clean.
- Add sprinkles while the coating stays wet, or let it set and drizzle a second color. Stand pops in a block to dry. The coating firms in about 10 minutes.
- Chill the finished pops for 10 minutes if your kitchen runs warm. Then bring them back to room temp so the coating keeps a nice bite.
Tips & Mistakes
Tiny tweaks make cake pop life easier.
- Keep the crumb-to-frosting ratio tight. Start with 1/3 cup frosting; too much turns the centers greasy.
- Aim for 3/4 inch thick hearts. Thinner pops crack on the stick, thick ones slide off during dipping.
- Warm your hands briefly, then work fast. Over-handling softens the mixture and causes smearing.
- Use a deep, narrow bowl for dipping. This covers faster and uses less coating.
- Thin the coating slowly. Add 1/2 teaspoon coconut oil at a time until it flows like syrup.
- Chill pops before dipping, not rock solid. Super cold centers can cause coating cracks.
- Fix a crack by dabbing warm coating with a clean finger or spoon, then sprinkle to camouflage.
- Stand pops upright right after dipping. Laying them flat leaves a flat side.
- If a pop falls off, fish it out with a fork, re-chill the remaining pops 5 minutes, and thin the coating slightly.
- Keep colors bright with white candy melts as a base. Then add oil-based candy colors, not liquid water-based dye.
Variations I’ve Tried
- Red velvet with cream cheese frosting and white chocolate coating, topped with red sprinkles.
- Strawberry cake with vanilla frosting and pink melts, plus a tiny jam center in larger hearts.
- Chocolate cake with almond extract and dark coating, finished with a white drizzle for contrast.
- Funfetti cake with vanilla frosting and confetti sprinkles for birthdays beyond Valentine season.
- Gluten-free mix with canned frosting and candy melts, which usually stay gluten-free. Always check labels.
- Dairy-free swap using coconut oil, dark melting wafers without milk, and a dairy-free frosting.
How to Serve Heart Shaped Cake Pops
Set the pops in a stand or a mason jar filled with sugar so the hearts peek over the rim. Pair them with coffee, hot cocoa, or a glass of sparkling rosé for date night. For gifting, wrap each pop in a small cellophane bag with ribbon and a tag. Kids love a sprinkles bar where they pick colors and sparkle levels.
Make-Ahead and Storage Success
Shape and chill the hearts up to 2 days before dipping. Store undipped hearts in an airtight container in the fridge with parchment between layers. Finished pops keep 5 to 7 days at cool room temp or in the fridge, depending on the coating and climate. Freeze undipped hearts up to 2 months; thaw in the fridge overnight, then dip. No reheating needed; bring chilled pops to room temp for 10 to 15 minutes so the centers taste soft and fudgy.
Ingredients
Instructions
- Bake the cake following the instructions on the box and let it cool completely.
- Crumble the cooled cake into a large bowl.
- Add the frosting to the cake crumbs and mix together until a dough-like consistency forms.
- Line a baking sheet with parchment paper.
- Take a small amount of mixture and shape it into a heart using your hands or a heart-shaped cookie cutter. Repeat for all cake pops.
- Place hearts on the baking sheet and refrigerate for at least 1 hour to firm up.
- Melt the candy melts or chocolate chips according to the package instructions.
- Dip the tip of each lollipop stick into the melted chocolate, then insert it into the base of each heart shape.
- Carefully dip each heart into the melted candy coating, ensuring it is evenly covered. Gently tap off excess.
- Decorate with sprinkles or decorations before the coating sets.
- Let cake pops stand upright in a Styrofoam block or cup until the coating is completely set.