Red velvet cupcakes have a special place in my heart. Their rich color and unique flavor always bring a smile to my face. I remember the first time I tried one at a local bakery. The cream cheese frosting was so creamy, and the cupcake was soft and moist. Ever since then, I have been on a mission to perfect my own Delicious Red Velvet Cupcake Recipe. Today, I want to share my journey and the recipe that I believe brings out the best in these delightful treats.
What Makes Red Velvet Cupcakes Special?
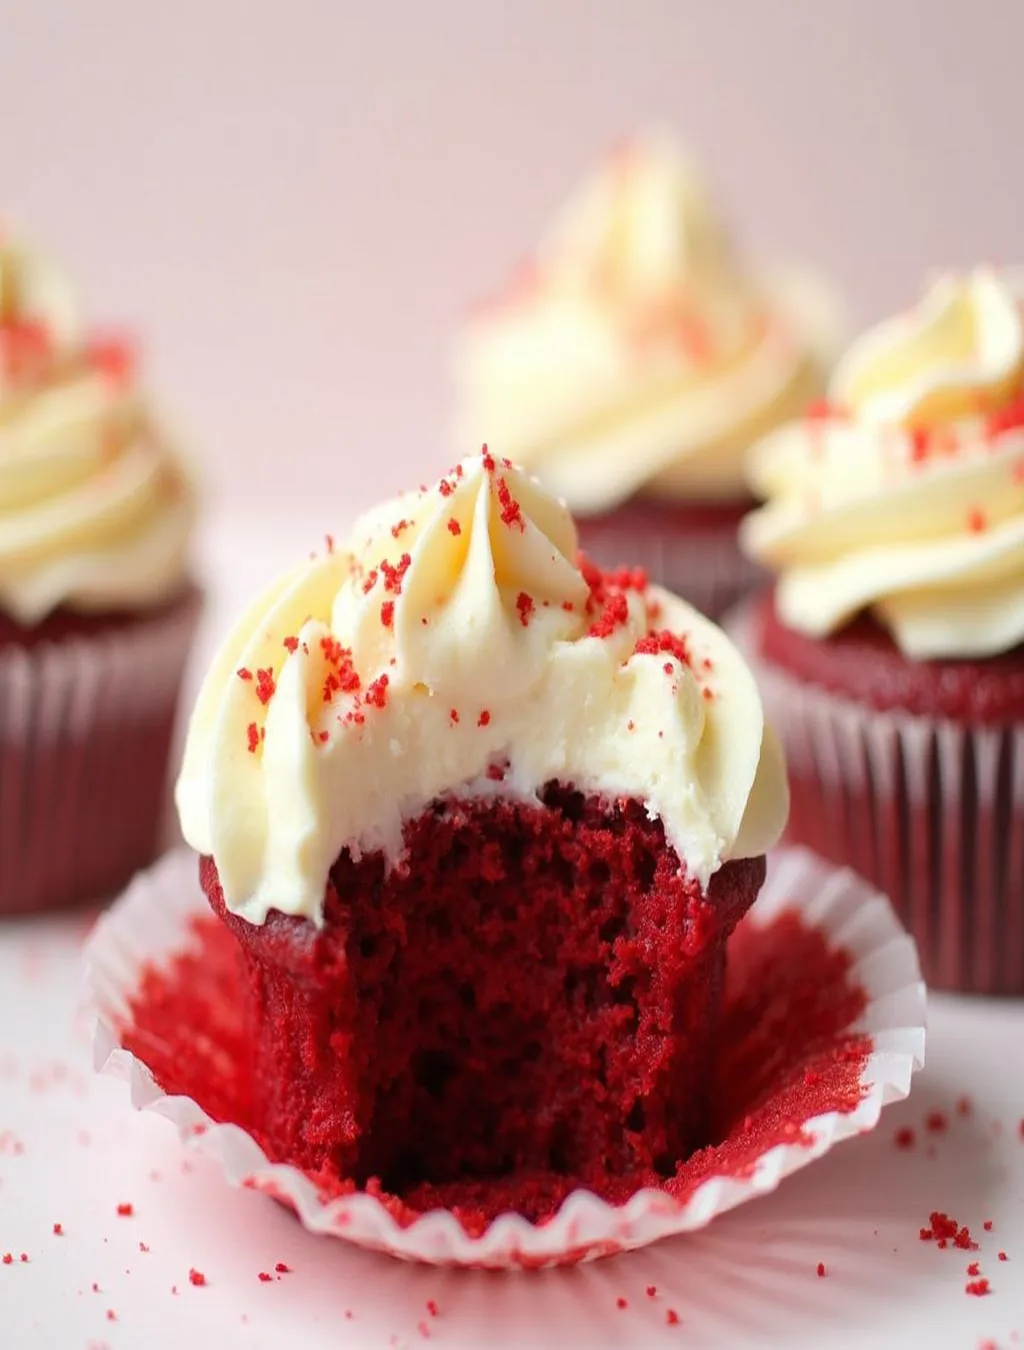
Red velvet cupcakes are more than just a pretty dessert. They have a rich history that dates back to the 1920s. The name “red velvet” comes from the cake’s velvety texture and its striking red color. The combination of cocoa powder and buttermilk gives these cupcakes a subtle chocolate flavor, which pairs perfectly with the tangy cream cheese frosting. It’s a flavor experience that is hard to resist.
Ingredients for Red Velvet Cupcakes
To make these delicious cupcakes, you need a few simple ingredients. Here’s what you’ll need:
Cupcake Ingredients:
- 1 ½ cups all-purpose flour
- 1 cup granulated sugar
- 1 teaspoon baking soda
- 1 teaspoon salt
- 1 teaspoon cocoa powder
- 1 cup vegetable oil
- 1 cup buttermilk, room temperature
- 2 large eggs, room temperature
- 2 tablespoons red food coloring
- 1 teaspoon vanilla extract
- 1 teaspoon white vinegar
Frosting Ingredients:
- 8 oz cream cheese, softened
- ½ cup unsalted butter, softened
- 4 cups powdered sugar
- 1 teaspoon vanilla extract
- A pinch of salt
How to Make Red Velvet Cupcakes
Making red velvet cupcakes is quite simple. Here’s a step-by-step guide to help you through the process.
Step 1: Preheat the Oven
Start by preheating your oven to 350°F (175°C). This ensures that your cupcakes bake evenly.
Step 2: Prepare the Muffin Tin
Line a muffin tin with cupcake liners. I usually pick vibrant colors to make the cupcakes pop even more.
Step 3: Mix the Dry Ingredients
In a large bowl, whisk together the flour, sugar, baking soda, salt, and cocoa powder. This helps to evenly distribute the dry ingredients.
Step 4: Combine the Wet Ingredients
In another bowl, mix the vegetable oil, buttermilk, eggs, red food coloring, vanilla extract, and vinegar. Whisk these together until well combined.
Step 5: Combine Both Mixtures
Gradually add the wet ingredients to the dry ingredients. Stir gently until just combined. Be careful not to overmix, as this can make the cupcakes tough.
Step 6: Fill the Muffin Tin
Spoon the batter into the cupcake liners, filling each about two-thirds full. This allows room for the cupcakes to rise.
Step 7: Bake
Place the muffin tin in the preheated oven and bake for about 20-22 minutes. To check for doneness, insert a toothpick into the center of a cupcake. If it comes out clean, they are ready.
Step 8: Cool the Cupcakes
Once baked, remove the cupcakes from the oven and let them cool in the tin for about 5 minutes. Then transfer them to a wire rack to cool completely.
Step 9: Make the Frosting
While the cupcakes are cooling, prepare the cream cheese frosting. In a large bowl, beat the softened cream cheese and butter together until smooth. Gradually add the powdered sugar, vanilla extract, and salt. Mix until the frosting is fluffy and creamy.
Step 10: Frost the Cupcakes
Once the cupcakes are completely cool, use a piping bag or a spatula to frost them with the cream cheese frosting. I love to add extra swirls for a beautiful finish.
Tips for Best Red Velvet Cupcakes
Here are some tips I’ve learned over the years to ensure your red velvet cupcakes turn out perfectly:
- Use Room Temperature Ingredients: This helps the batter mix more evenly, resulting in a better texture.
- Don’t Overmix: Mixing too much can lead to dense cupcakes. Mix until just combined.
- Check for Doneness Early: Ovens can vary, so check your cupcakes a few minutes before the suggested baking time.
- Let Them Cool Completely: Frosting warm cupcakes can cause the frosting to melt and slide off.
Serving Red Velvet Cupcake
Red velvet cupcakes are perfect for any occasion. I love to serve them at birthday parties, holidays, or just because I’m craving something sweet. They look great on a dessert table and are sure to impress your guests.
Pairing with Beverages
These cupcakes pair well with a variety of drinks. Here are some of my favorites:
- Coffee: The rich flavors of coffee complement the sweetness of the cupcakes.
- Milk: A classic pairing that never goes out of style.
- Tea: A warm cup of tea balances the sweetness perfectly.
Storing Leftover Cupcakes
If you happen to have leftovers (which is rare in my house), storing them properly is key to keeping them fresh. Here’s how I do it:
- Room Temperature: Store in an airtight container for up to 2 days.
- Refrigerator: If you want to keep them longer, refrigerate for up to a week.
- Freezing: You can freeze unfrosted cupcakes for up to 3 months. Just wrap them tightly in plastic wrap and place them in a freezer bag.
Variations of Red Velvet Cupcakes
While the classic red velvet cupcake is a favorite, I love to experiment with variations. Here are a few ideas:
- Chocolate Chip Red Velvet Cupcakes: Add chocolate chips to the batter for an extra treat.
- Nutty Red Velvet Cupcakes: Incorporate chopped nuts into the batter for added crunch.
- Red Velvet Cake Pops: Crumble leftover cupcakes, mix with frosting, and roll into balls for cake pops.
Red velvet cupcakes hold a special place in my baking heart. They are not only delicious but also visually stunning. I hope you enjoy making and sharing these cupcakes as much as I do. Whether it’s for a special occasion or just a sweet treat for yourself, this Delicious Red Velvet Cupcake Recipe is sure to bring joy to your kitchen and your taste buds.