Burger Sliders Recipe hits all the cravings: juicy, cheesy, buttery, and perfectly snackable in under 40 minutes, ideal for busy weeknights, game days, or casual family dinners. This recipe works for anyone who wants classic burger flavor in a smaller, kid-friendly size without a ton of fuss. I tested versions of these sliders so many times that my neighbors started “checking in” right around dinnertime.
Why You Should Try This Burger Sliders Recipe
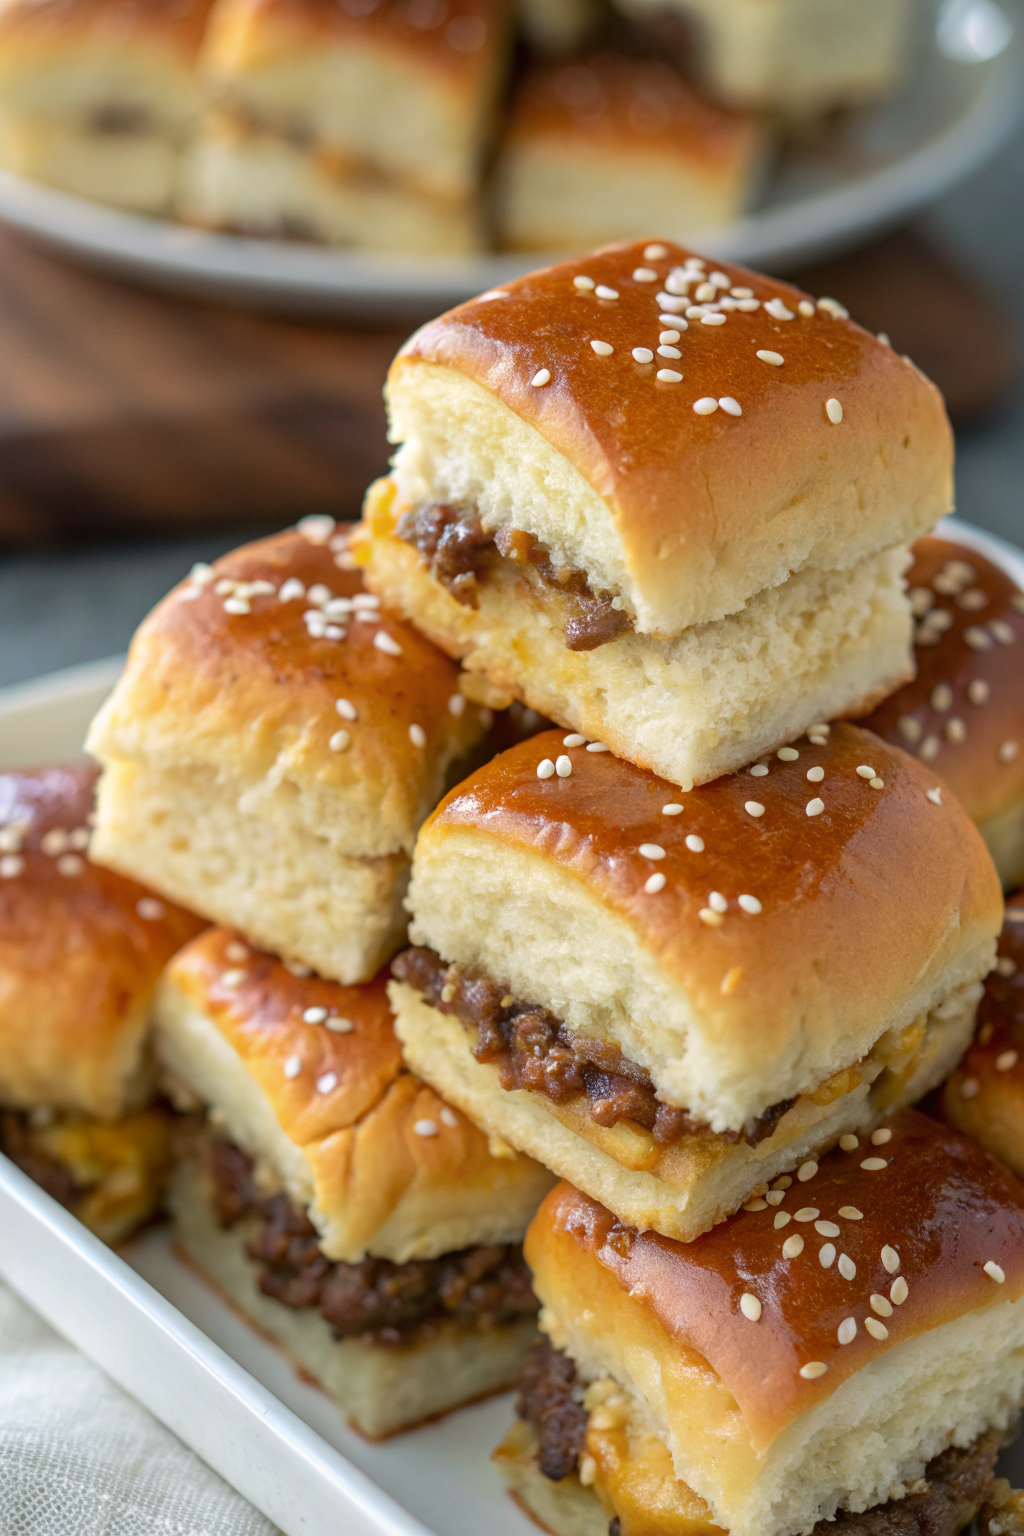
These burger sliders pack big flavor into small bites, with juicy beef, melty cheese, and soft, buttery rolls that soak up all the goodness. You get the taste of a classic backyard burger, but in a format that works for parties, picky kids, and portion control.
You also cook everything on one sheet pan, so cleanup stays easy and stress stays low. You can customize toppings for different tastes, which keeps everyone at the table happy without making five separate dinners.
“These burger sliders disappeared in minutes at our family movie night, and everyone asked for the recipe. ★★★★★”
Ingredients You’ll Need
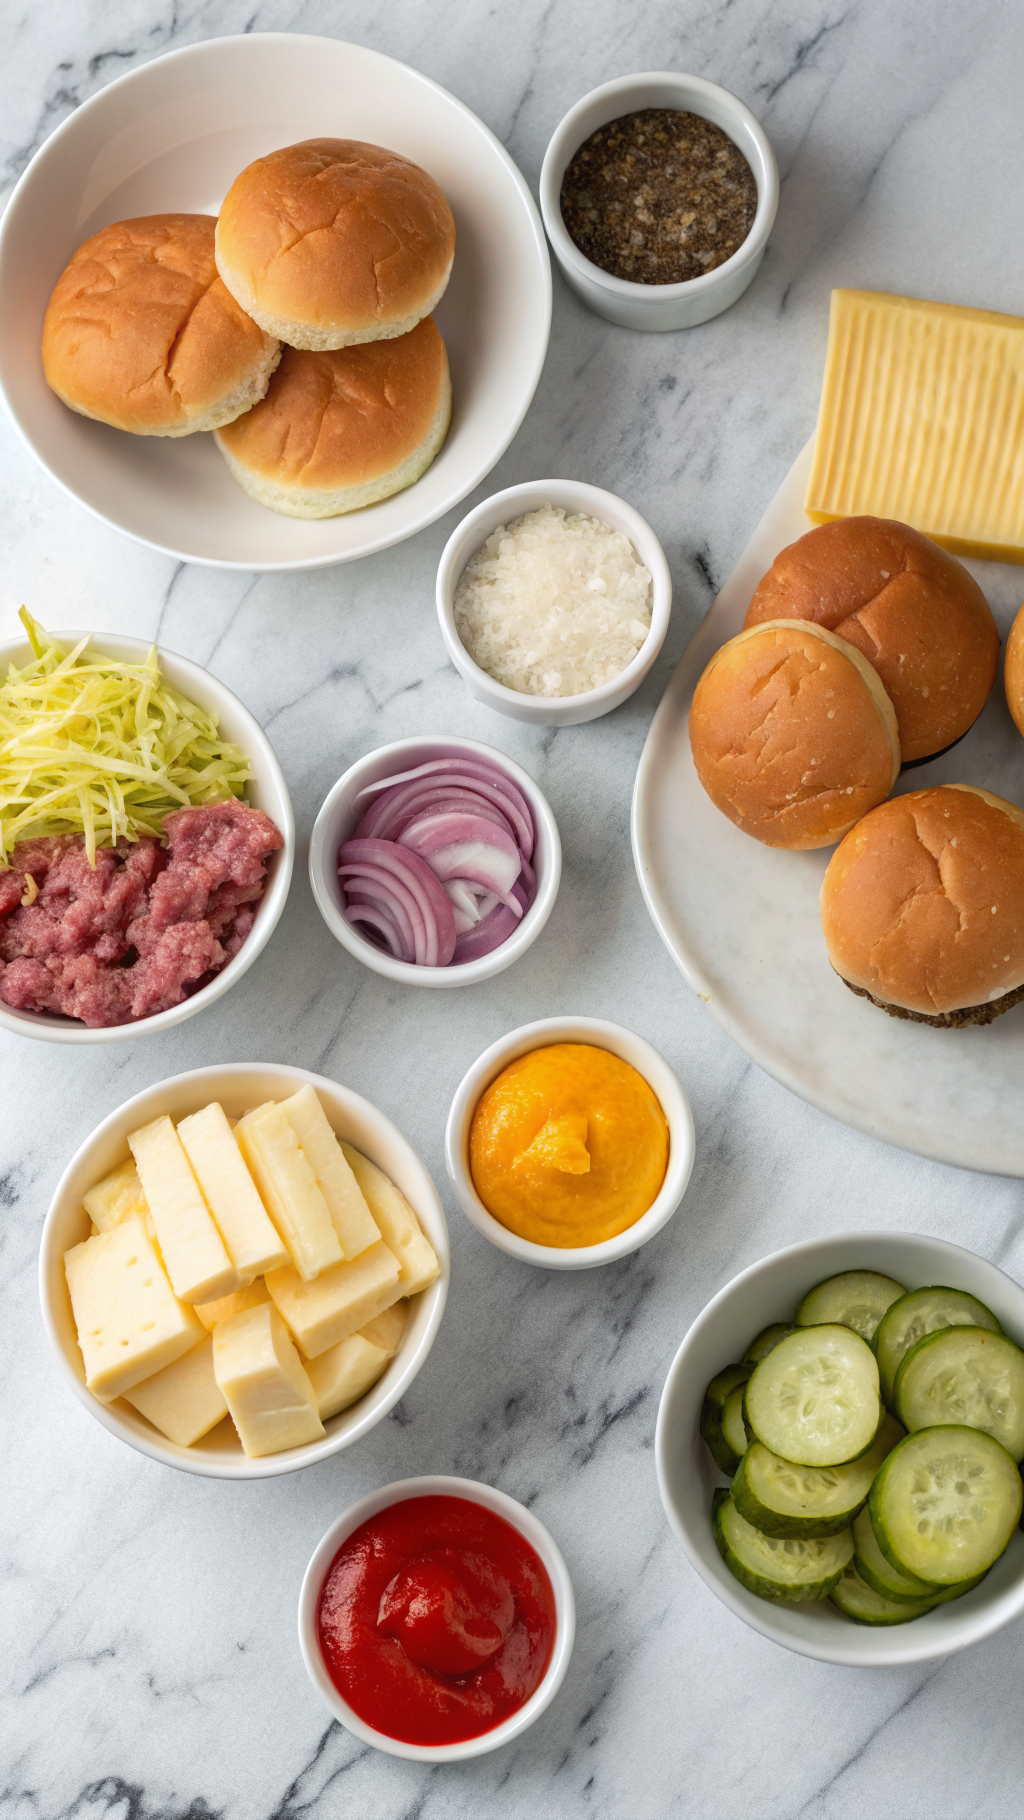
Slider base
- 1 to 1 ¼ pounds ground beef (80/20 for juicy sliders; use 90/10 for leaner sliders)
- 1 teaspoon kosher salt
- ½ teaspoon black pepper
- 1 teaspoon garlic powder
- 1 teaspoon onion powder
- 1 teaspoon Worcestershire sauce (adds classic burger flavor; store brands work great)
- 1 tablespoon yellow mustard or Dijon (mixes into the meat for extra flavor)
Cheese & buns
- 12 soft slider buns or Hawaiian-style rolls, attached as a sheet if possible
- 6 to 8 slices American cheese (melts perfectly; use cheddar, Colby Jack, or pepper jack if you prefer)
- 2 tablespoons mayonnaise (optional, for spreading on buns)
Toppings
Mix and match based on what you like and what your pantry holds.
- ½ small onion, very finely diced or thinly sliced
- 12 pickle slices
- 1 small tomato, thinly sliced
- Lettuce leaves, torn into slider-size pieces
- Ketchup, mustard, burger sauce, or your favorite condiment
Butter topping
- 3 tablespoons unsalted butter, melted
- 1 teaspoon sesame seeds or everything bagel seasoning
- ½ teaspoon garlic powder
- ½ teaspoon dried minced onion or onion flakes
Pantry shortcuts & substitutions
- Use pre-sliced cheese to save time.
- Use pre-shredded lettuce or bagged salad mix for quick topping.
- Swap ground beef with ground turkey or chicken; add an extra teaspoon of oil to keep it juicy.
- Use slider buns, dinner rolls, or Hawaiian rolls; just keep them soft and slightly sweet for best results.
Equipment
- Rimmed baking sheet
- Parchment paper or foil
- Mixing bowl
- Small bowl for butter topping
- Spatula
- Serrated knife for slicing rolls
Tips & Tricks
- Press the meat into an even rectangle slightly larger than the bun sheet, since it shrinks as it cooks.
- Chill the pressed meat in the fridge for 10 to 15 minutes so it holds its shape on the pan.
- Line the baking sheet with parchment or foil for easier cleanup and less sticking.
- Season the meat generously; small sliders need bold flavor in every bite.
- Toast the buns lightly so they stay soft but hold up to the juicy beef.
- Add cheese near the end of baking so it melts without overcooking the meat.
- Slice the whole sheet of sliders at the end instead of building each one separately to save time.
- Keep toppings simple for kids and add extra toppings on the side for adults.
How to Make Burger Sliders
Step 1: Prep the pan and buns
Preheat your oven to 375°F. Line a rimmed baking sheet with parchment or foil. Slice the slider buns horizontally as one big sheet, so you have a top and bottom layer, and set them aside.
Step 2: Mix the burger meat
Add ground beef, salt, pepper, garlic powder, onion powder, Worcestershire sauce, and mustard to a mixing bowl. Mix gently with your hands or a fork until everything just combines; stop before the meat turns pasty. Overmixing makes the sliders tough, so keep the mixing light.
Step 3: Shape the meat into a sheet
Place the meat on the lined baking sheet. Press it into an even rectangle that matches the size of your bun sheet or slightly larger. Smooth the top with your hands so it cooks evenly and looks neat.
Step 4: Chill and season the top
Place the baking sheet in the fridge for 10 to 15 minutes so the meat firms up. Sprinkle a little extra salt and pepper on top if you like stronger flavor. Use this time to slice onions, tomatoes, and other toppings.
Step 5: Bake the burger layer
Place the baking sheet in the oven and bake for about 12 to 15 minutes. Check at 10 minutes, then keep an eye on it so you do not overcook the meat. When the center reaches 160°F and the edges look browned, pull the pan from the oven.
Step 6: Add cheese and finish baking
Lay cheese slices over the hot burger sheet, slightly overlapping to cover the surface. Return the pan to the oven for 2 to 3 minutes so the cheese melts fully. Remove the pan and let the meat rest for a couple of minutes while you prep the buns.
Step 7: Toast the buns
Place the bottom bun sheet on a separate baking sheet. Spread a thin layer of mayonnaise on the cut sides if you like richer flavor. Toast the bottom and top bun sheets in the oven for 3 to 5 minutes until they feel warm and lightly golden.
Step 8: Build the sliders
Place the cooked burger and cheese sheet on top of the toasted bottom buns. Scatter onions, pickles, tomato slices, and lettuce over the cheese. Drizzle with ketchup, mustard, or burger sauce to taste.
Step 9: Add buttery topping and bake
Place the top bun sheet over the sliders. Stir melted butter, garlic powder, dried onion, and sesame seeds in a small bowl. Brush this mixture over the tops of the buns, then bake for 5 to 7 minutes until the tops look golden and slightly crisp.
Step 10: Slice
Remove the sliders from the oven and let them sit for 3 to 5 minutes so they hold together. Use a sharp serrated knife to slice along the bun lines into individual burger sliders. Serve warm with your favorite sides and extra pickles on the table.
What to Serve with Burger Sliders
These burger sliders pair perfectly with crispy oven fries, sweet potato fries, or simple potato wedges. Add a crunchy side salad, coleslaw, or sliced cucumbers and carrots for something fresh. Kids love them with tater tots or mac and cheese, while adults often reach for a big bowl of seasoned fries. Serve with iced tea, lemonade, flavored sparkling water, or a fun fruit punch for a full meal.
Storage Options
- Store leftover burger sliders in an airtight container in the fridge for up to 3 days.
- Keep toppings like lettuce and tomato separate so they stay fresh and crisp.
- Freeze assembled sliders (without lettuce and tomato) tightly wrapped for up to 2 months.
- Reheat in a 350°F oven for 8 to 12 minutes until hot; avoid the microwave if you want to keep the buns from turning soggy.
Ingredients
Instructions
- In a large bowl, combine the ground beef, salt, black pepper, garlic powder, onion powder, and Worcestershire sauce. Mix gently just until combined; do not overwork the meat.
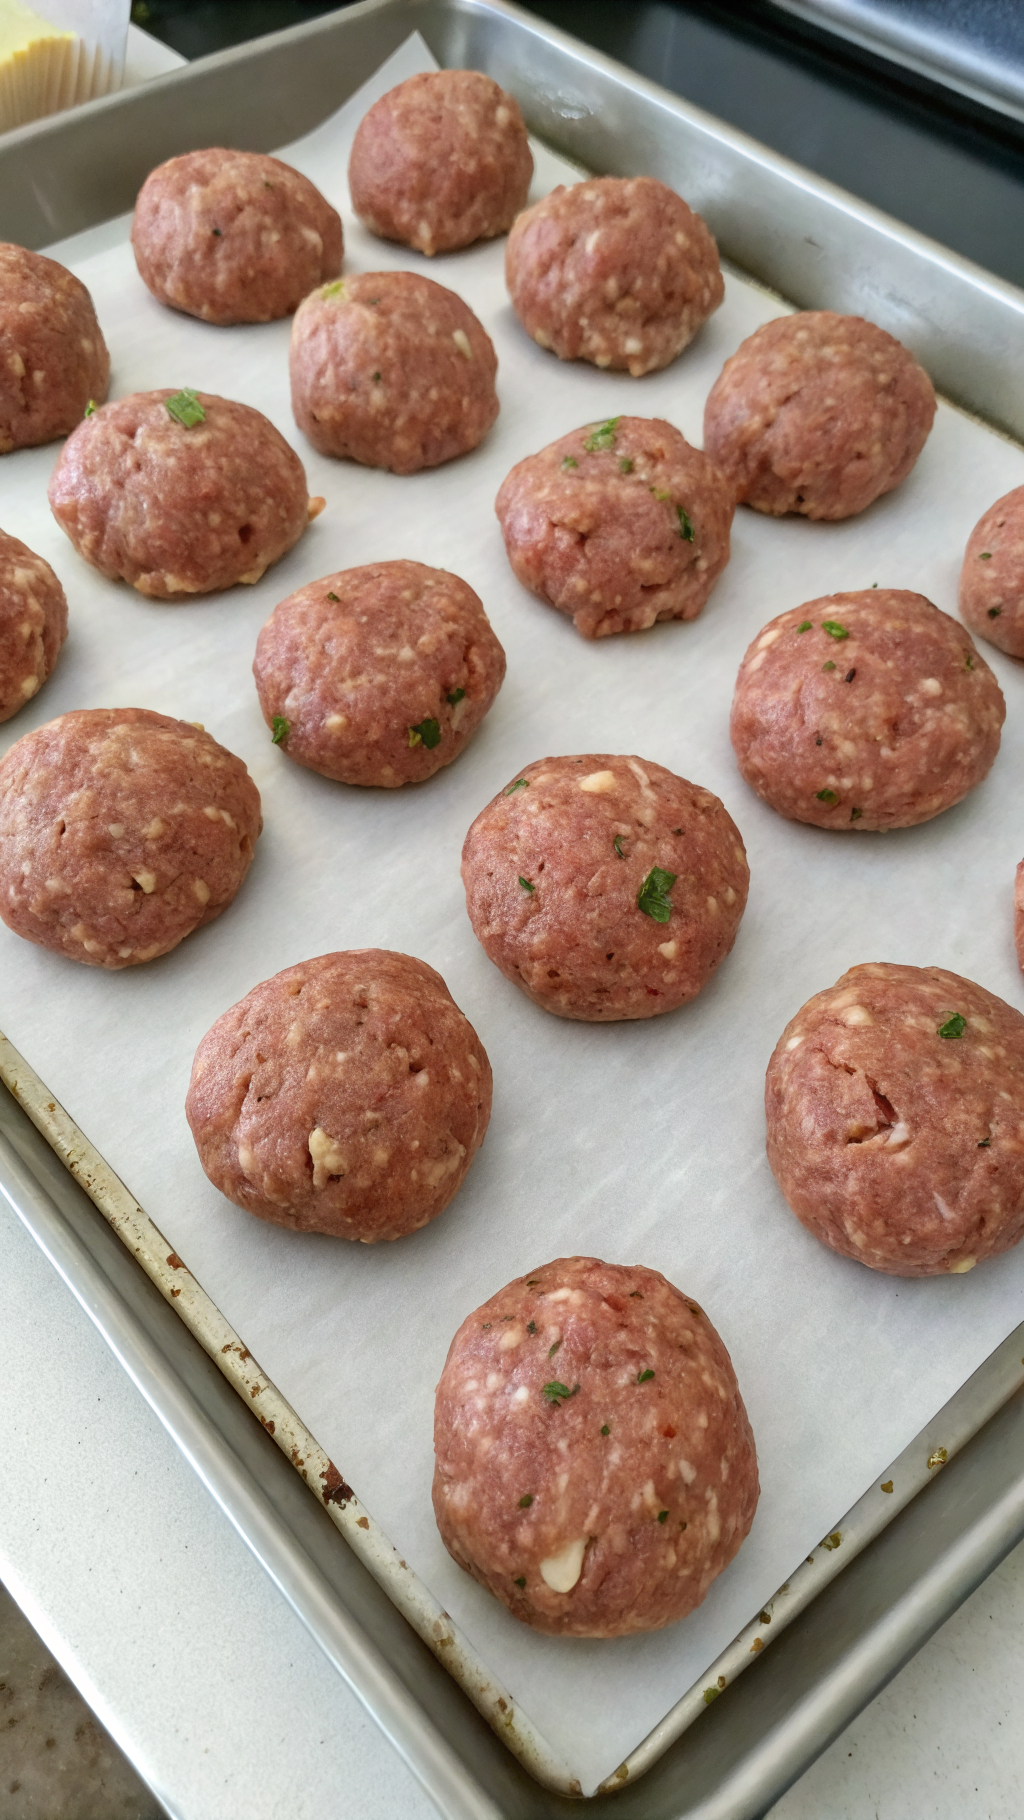
- Divide the mixture into 12 equal portions and shape each into a small patty slightly larger than the slider buns, as they will shrink when cooked.
- Preheat a grill or large skillet over medium-high heat. Lightly oil the grates or pan if needed.
- Place the patties on the hot surface and cook for 2–3 minutes per side, or until browned and cooked to your desired doneness.
- During the last minute of cooking, place a half slice of cheese on each patty, cover the grill or pan, and let the cheese melt.
- If desired, brush the cut sides of the slider buns with melted butter and toast them on the grill or in a skillet until lightly golden.
- Spread mayonnaise and ketchup (and mustard, if using) on the buns.
- Place a cheese-topped patty on each bottom bun, then top with shredded lettuce, a tomato slice, and a pickle slice.
- Cover with the top buns and secure with toothpicks if serving on a platter. Serve warm.
Notes
Approximate per 1 slider serving: 230–260 calories; fat 15 g; saturated fat 6 g; carbohydrates 16 g; fiber 1 g; sugars 4 g; protein 11 g; sodium 420 mg. Values will vary based on specific brands of buns, cheese, condiments, and exact portion sizes.