Snow Ice Cream Recipe tastes like the fluffiest vanilla soft serve met a snow cone and decided to become best friends. It works for anyone who wants a fun, kid-friendly winter dessert that comes together in about 10 minutes from pantry staples and fresh snow. I grew up in the Midwest and still turn into an overexcited 8‑year‑old every time the forecast calls for enough snow to make a batch.
Why Make This Snow Ice Cream Recipe at Home
Snow ice cream feels magical because you turn a snow day into dessert with almost no effort. You skip churning, custards, and long freezing times, yet you still get a creamy, spoonable treat. Kids think it tastes like a snow day in a bowl, and adults secretly agree.
You control the sweetness, flavor, and texture, so it never tastes icy or bland. You also avoid weird additives and use ingredients you already keep in the pantry. Plus, you only dirty one big bowl and a measuring cup, which my sink appreciates.
“This Snow Ice Cream Recipe turned a boring snowstorm into the best dessert night of the season. The texture tasted light and fluffy, and my kids now pray for snow just so we can make it again.”
Ingredients You Need
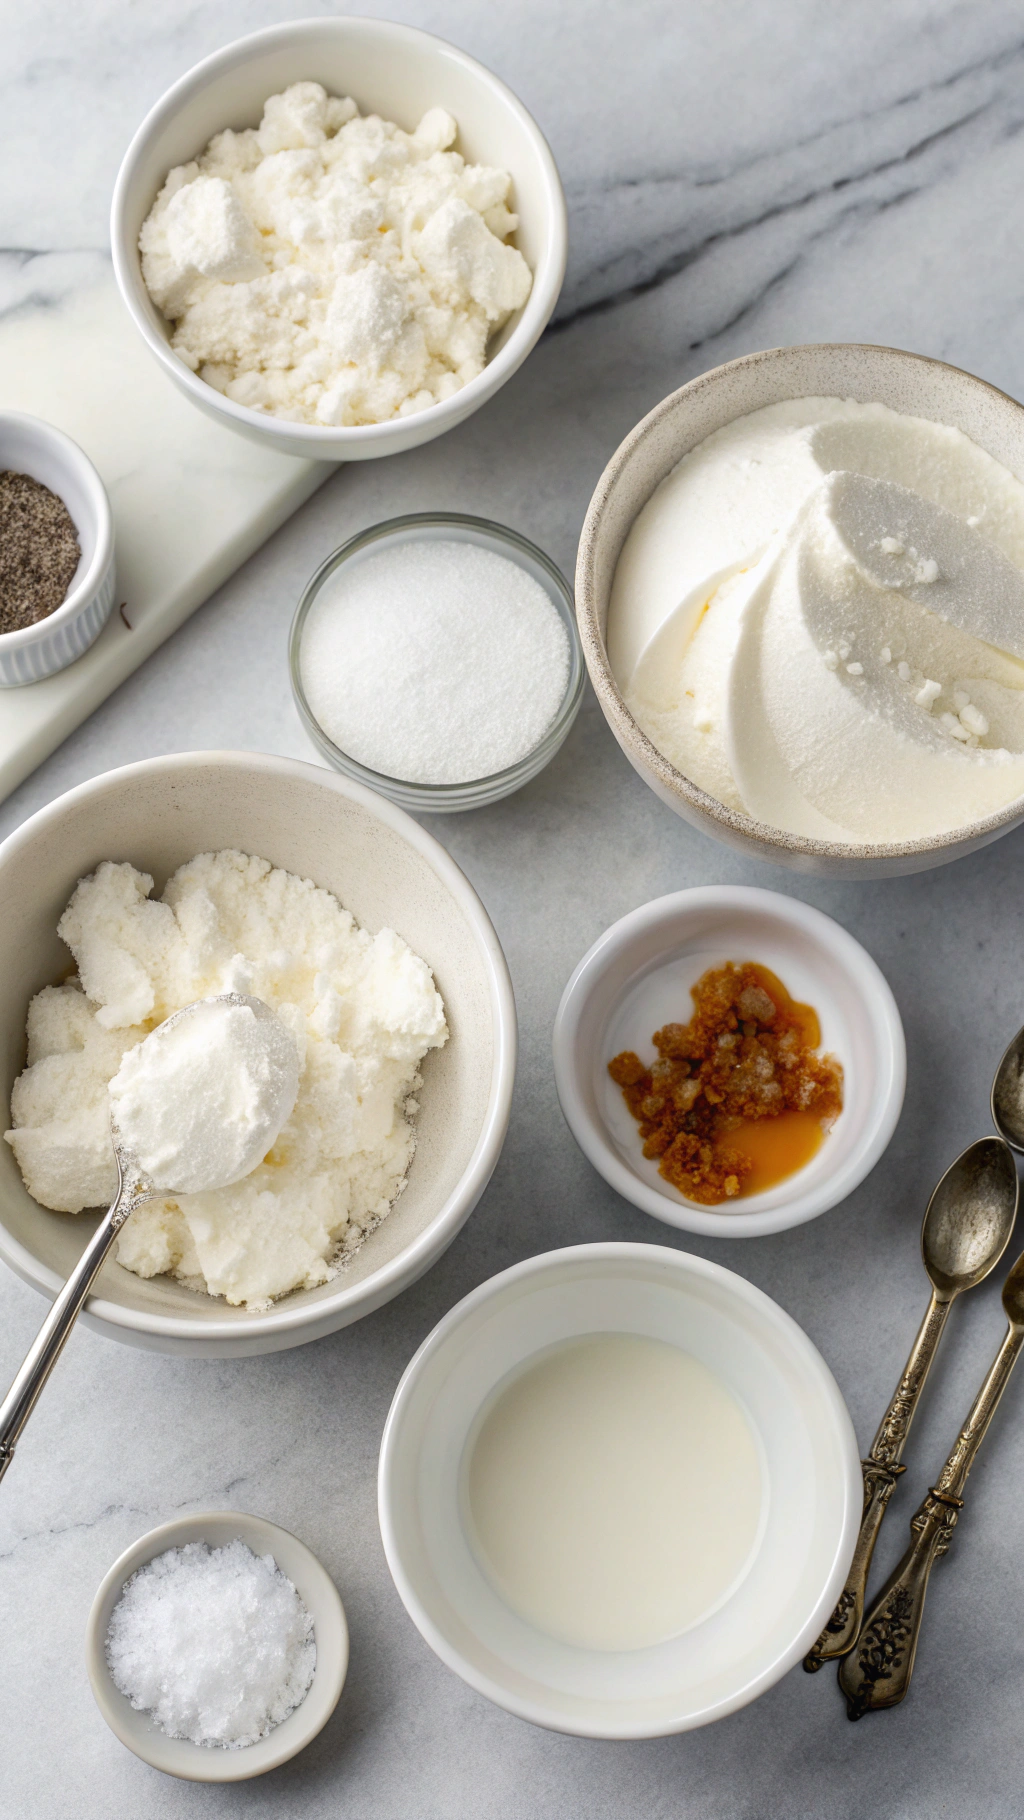
Snow Ice Cream Recipe:
- 8–10 cups fresh, clean snow, lightly packed
- 1 cup whole milk or half‑and‑half
- 1 cup heavy cream
- 1 teaspoon pure vanilla extract (I like Nielsen‑Massey or Costco’s vanilla)
- 1/2 to 3/4 cup granulated sugar, to taste
- Pinch of fine sea salt
Optional mix‑ins and toppings:
- 2–3 tablespoons mini chocolate chips
- 2 tablespoons rainbow sprinkles or chocolate jimmies
- 1 tablespoon cocoa powder for chocolate snow ice cream
- Crushed cookies, cereal, or candy bits
- Caramel sauce, chocolate syrup, or strawberry sauce
Ingredient notes and easy swaps:
- Use all half‑and‑half if you want a slightly lighter texture.
- Use canned sweetened condensed milk instead of sugar and part of the milk for extra creamy, scoopable snow ice cream.
- Use almond, peppermint, or coconut extract instead of vanilla for fun flavor twists.
- Use powdered sugar instead of granulated sugar if you want a smoother, faster dissolve.
Pantry shortcuts:
- Keep a can of sweetened condensed milk in the pantry so you only need snow and vanilla.
- Use flavored coffee creamers for instant flavored snow ice cream, just reduce or skip extra sugar.
Equipment list:
- Large mixing bowl (chill it in the freezer if you can)
- Large spoon or silicone spatula
- Measuring cups and spoons
- Ice cream scoop or large spoon for serving
- Cups or bowls for serving and a ladle if kids help themselves
Tips & Mistakes
This Snow Ice Cream Recipe tastes amazing when you treat it like a quick frozen dessert, not like regular ice cream that sits for hours.
- Collect fresh, clean snow from the top layer, away from roads or walkways, and avoid yellow or gray snow every single time.
- Chill the bowl and liquid ingredients in the fridge for 15 minutes so the snow does not melt too fast.
- Start with 8 cups of snow, then add more as needed until the texture looks like soft serve and holds gentle peaks.
- Add the milk mixture gradually and stir gently so you keep the snow fluffy instead of turning it into slush.
- Taste after mixing, then adjust sweetness with a spoonful of sugar or a drizzle of condensed milk.
- Add cocoa powder to the liquid first so it dissolves smoothly and does not clump in the snow.
- Serve snow ice cream right away for the best texture, since it hardens and turns icy if it sits too long.
- Avoid overpacking the snow or overmixing, because that compacts the crystals and makes the dessert dense and icy.
- Store leftovers in a shallow, tightly covered container and eat them within a few hours for the best flavor.
How to Make Snow Ice Cream
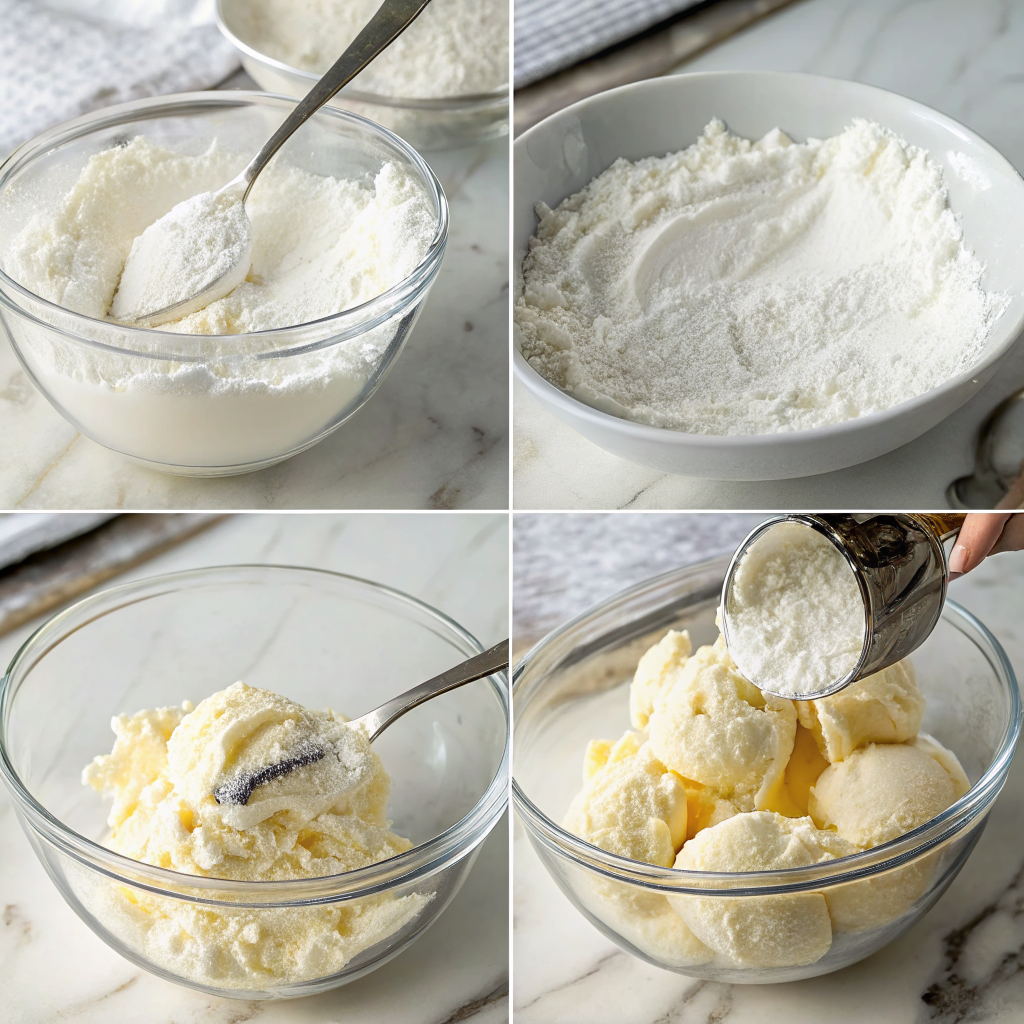
1: Mix the sweet base
Pour the milk, heavy cream, sugar, vanilla, and salt into a medium bowl or large measuring cup. Whisk until the sugar dissolves and the mixture tastes sweet and flavorful. Chill this base in the fridge while you collect the snow so it stays cold.
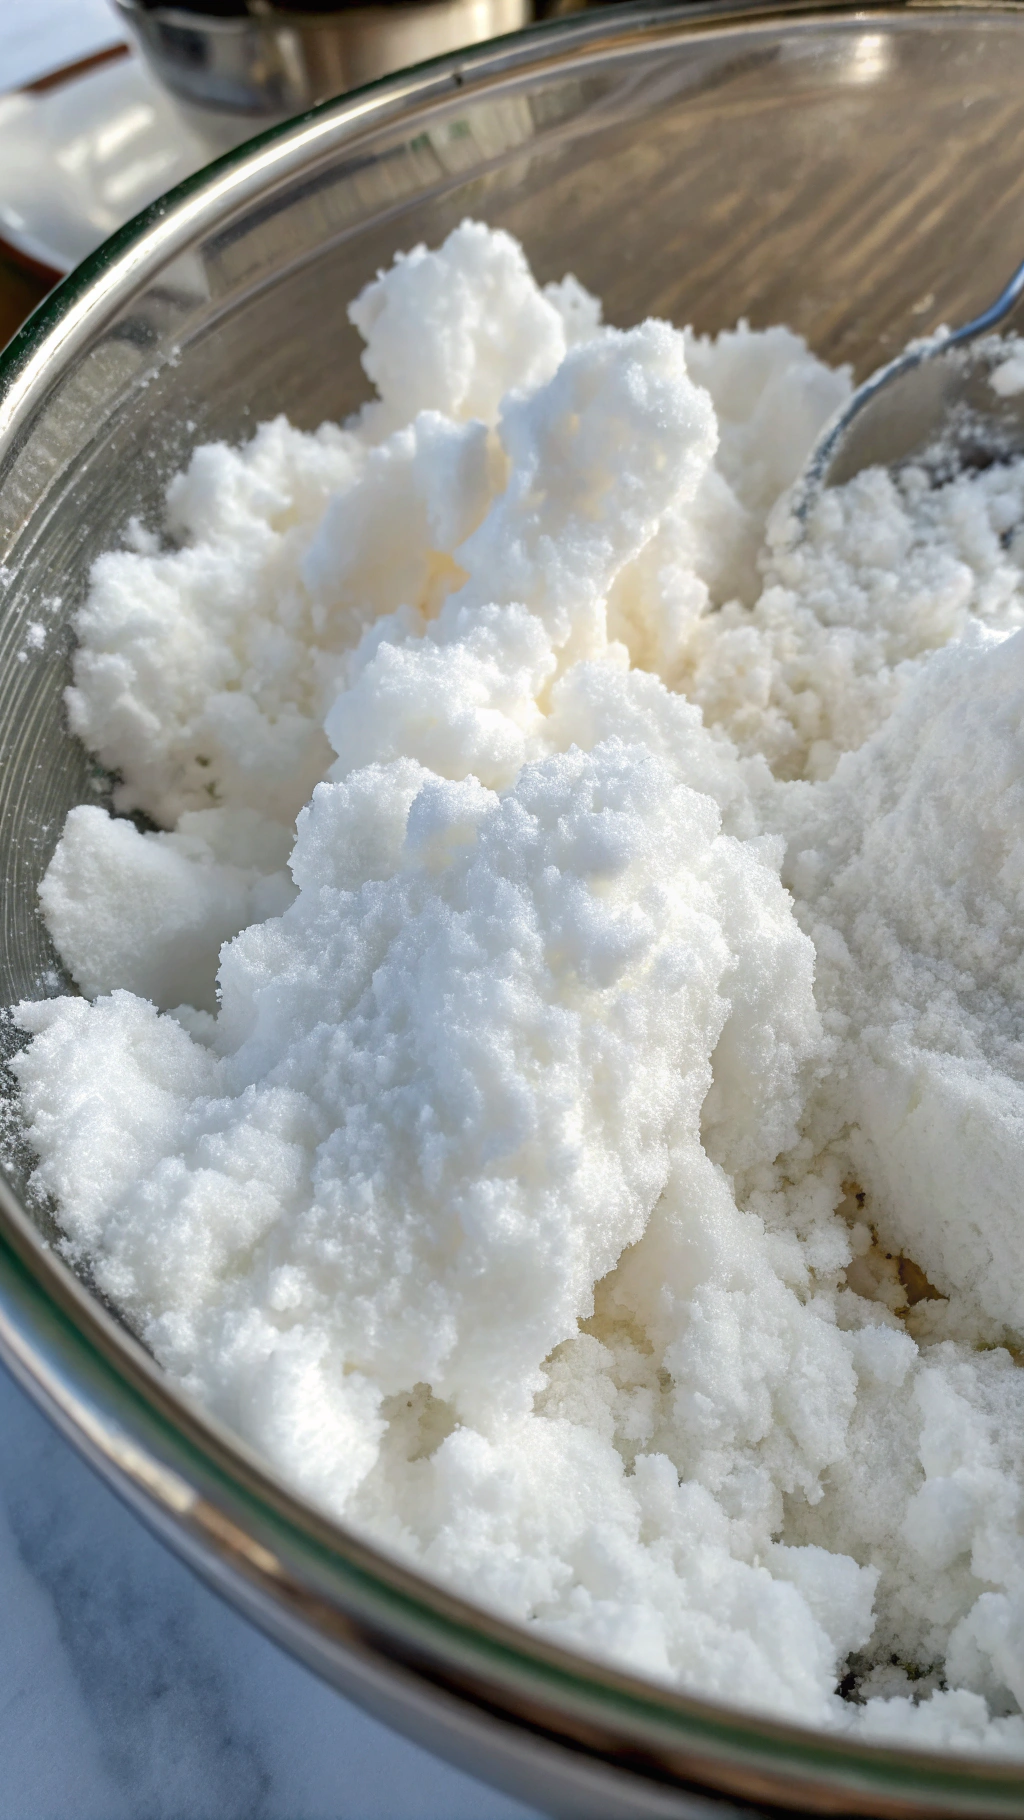
2: Collect the snow
Head outside with a large clean bowl. Scoop 8–10 cups of fresh, fluffy snow from the top layer in a clean area of the yard or patio. Bring it inside right away so it does not start to melt.
3: Combine snow and cream mixture
Pour about half of the cold vanilla mixture over the snow. Gently fold with a large spoon or spatula, then add more liquid a little at a time. Stop when the snow ice cream looks creamy, fluffy, and holds soft mounds without turning soupy.
4: Adjust texture and flavor
Taste a spoonful and adjust sweetness with a bit more sugar if needed. Add an extra splash of vanilla or a pinch more salt if the flavor tastes flat. If the mixture feels too soft, fold in another cup or two of snow until it thickens again.
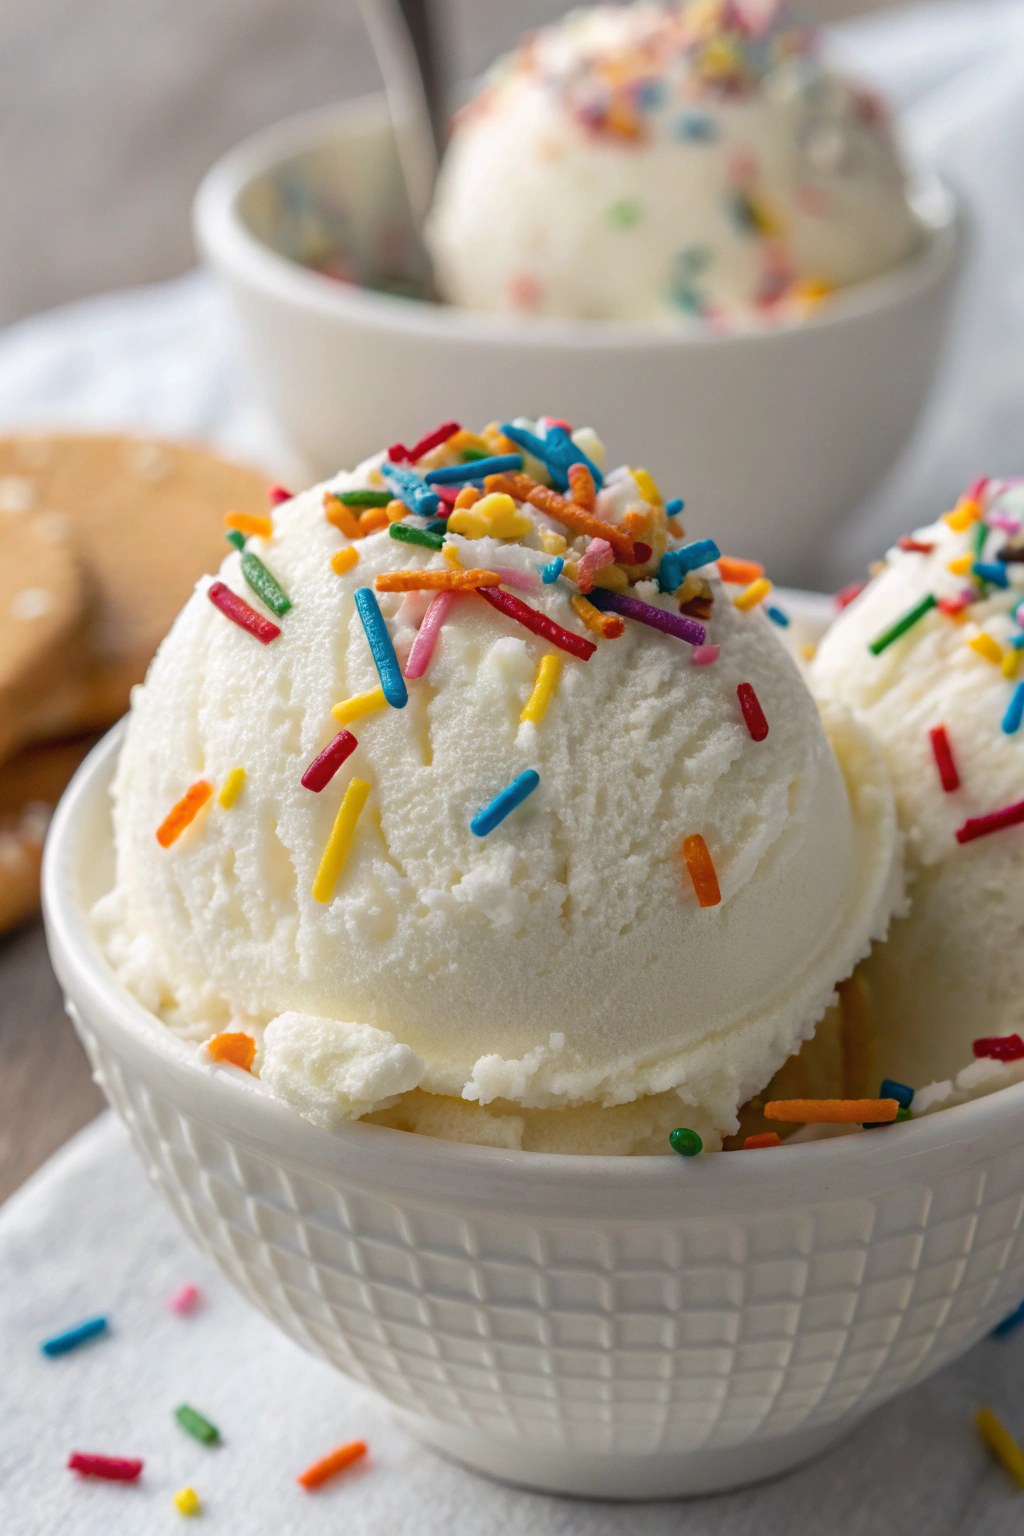
5: Add mix‑ins
Fold in chocolate chips, sprinkles, or crushed cookies. Scoop the snow ice cream into bowls or cups and top with sauces or extra sprinkles. Serve it immediately while it still tastes light and fluffy.
Variations I’ve Tried
I mix in cocoa powder and a spoonful of chocolate syrup for a chocolate snow ice cream that tastes like a frozen hot chocolate. I add peppermint extract and crushed candy canes for a winter mint version that kids love. I stir in coconut extract and shredded coconut for a “snowball” flavor that tastes tropical and cozy at the same time.
I swirl in strawberry jam or raspberry preserves for a fruity twist that looks pretty and tastes bright. I add instant espresso powder and mini chocolate chips for a mocha version that adults devour. I drizzle caramel and sprinkle sea salt on top for a salted caramel snow ice cream that tastes fancy but takes almost no effort.
How to Serve Snow Ice Cream
Serve this Snow Ice Cream Recipe in chilled bowls or mugs so it stays cold and fluffy longer. Top it with sprinkles, chocolate syrup, or crushed cookies for a fun sundae bar. Pair it with hot chocolate, coffee, or tea for a cozy contrast of hot and cold. I also like to sandwich scoops between two cookies for a quick snow ice cream sandwich.
Make-Ahead Success
Prepare the sweet milk base ahead of time and store it in the fridge for up to 3 days so you only need fresh snow when the storm hits. Freeze finished snow ice cream in a shallow airtight container for up to 2 hours for a firmer scoop, but expect a slightly icier texture. If it freezes too hard, let it sit on the counter for 5–10 minutes, then scrape and stir with a fork to fluff it back up. I avoid long freezer storage and mix a fresh batch whenever snow falls, because the quick, fluffy texture tastes best right after mixing.
Snow Ice Cream Recipe
Ingredients
Instructions
- In a large mixing bowl, whisk together the milk, sugar, vanilla extract, and salt until the sugar is mostly dissolved.
- Add the snow to the bowl a few cups at a time, gently folding it into the milk mixture.
- Continue adding snow and stirring until the mixture reaches a soft ice cream consistency. Adjust with a little more snow or milk if needed.
- Spoon the snow ice cream into bowls, add sprinkles or chocolate chips if desired, and serve immediately.