
Frozen Peanut Butter Bites Recipe tastes like a cross between a Reese’s cup and peanut butter fudge, only colder, creamier, and way less fussy. It works perfectly for busy snackers, kids, athletes, and late-night dessert people, and you only need about 20 minutes of hands-on time. I keep a batch in my freezer almost every week, and my family treats them like edible gold nuggets.
Why Make This Frozen Peanut Butter Bites Recipe at Home
You control the sweetness, the salt, and the quality of the chocolate, which makes these taste better than most store-bought treats. You also skip weird ingredients and keep the list short and pantry friendly.
These bites work as a snack, dessert, or quick sweet bite after lunch. You can customize them for gluten free, dairy free, or higher protein without much effort.
These Frozen Peanut Butter Bites Recipe turned into our favorite freezer snack, perfectly creamy, chocolatey, and not too sweet ★★★★★
Ingredients You Need

- Peanut butter
- Use creamy peanut butter for the smoothest texture.
- Natural peanut butter works, but stir it very well so the oil blends in.
- If you prefer a firmer bite, use a no-stir brand like Skippy or Jif.
- Honey or maple syrup
- Powdered sugar or oat flour
- Vanilla extract
- Fine sea salt
- A pinch balances the sweetness and makes the peanut flavor pop.
- If your peanut butter already has salt, add less and taste as you go.
- Chocolate chips or chopped chocolate
- Use semi sweet chocolate chips for a classic flavor.
- Dark chocolate works beautifully if you like a deeper cocoa taste.
- I often use Ghirardelli or Guittard because they melt smoothly and set with a nice snap.
- Coconut oil or neutral oil
- Optional mix ins and toppings
Equipment list
- Mixing bowl
- Rubber spatula or wooden spoon
- Measuring cups and spoons
- Small cookie scoop or teaspoon
- Parchment paper
- Baking sheet or flat plate that fits in your freezer
- Microwave safe bowl or small saucepan for melting chocolate
Tips & Mistakes
- Chill the peanut butter mixture before scooping so it holds shape and does not smear.
- Line your tray with parchment so the bites release easily and do not freeze to the pan.
- Taste the filling before chilling and adjust salt or sweetness so you love it.
- Use a small cookie scoop for even sizes so the bites freeze at the same rate.
- Do not overheat the chocolate or it can seize and turn grainy.
- Work in batches if your kitchen runs warm so the bites stay firm while you coat them.
- Let extra chocolate drip off the fork so you avoid thick, hard shells that crack.
- Freeze the coated bites in a single layer so they do not stick together.
- Keep kids away from the tray until the chocolate sets, or you will find mysterious fingerprints.
How to Make Frozen Peanut Butter Bites
Mix the peanut butter filling
Add peanut butter, honey or maple syrup, vanilla, and salt to a mixing bowl. Stir until the mixture looks smooth and glossy. Sprinkle in powdered sugar or oat flour a little at a time and stir until the mixture turns thick, scoopable, and not sticky.
Taste the filling and adjust sweetness or salt. If the mixture feels too soft, add a bit more powdered sugar or oat flour. If it feels too stiff, add a small spoon of peanut butter and stir again.
Chill and shape the bites
Place the bowl in the fridge for about 20 to 30 minutes so the mixture firms up. Line a baking sheet or large plate with parchment paper. Use a small cookie scoop or teaspoon to portion the peanut butter mixture into small mounds on the parchment.
Roll each mound quickly between your palms to form smooth balls. Work quickly so the warmth of your hands does not soften them too much. Place the tray in the freezer for 30 to 45 minutes until the bites feel very firm.
Melt the chocolate
Add chocolate chips and coconut oil to a microwave safe bowl. Microwave in 20 to 30 second bursts, stirring between each burst, until the chocolate melts and looks smooth and shiny. You can also melt the chocolate in a small saucepan over very low heat and stir constantly.
Let the melted chocolate cool for a couple of minutes so it thickens slightly but still flows. If it cools too much and thickens, warm it again briefly and stir. Keep the chocolate bowl near the freezer so you move quickly.
Coat the peanut butter bites
Take a few peanut butter balls out of the freezer at a time and keep the rest inside so they stay firm. Drop one ball into the melted chocolate and use a fork to roll it around and coat it fully. Lift it out with the fork, tap the fork gently on the bowl edge to shake off extra chocolate, then slide the coated bite back onto the parchment.
Sprinkle toppings like crushed peanuts or flaky salt on top before the chocolate sets. Repeat with the remaining bites, working in small batches. If the chocolate starts to thicken, warm it briefly and stir until smooth again.
Freeze until set
Place the tray of coated bites back in the freezer. Chill for about 20 to 30 minutes until the chocolate shell feels firm and the centers feel solid. Once they set, transfer the bites to an airtight container and keep them in the freezer.
You can enjoy them straight from the freezer for a firmer texture. If you prefer a softer, creamier center, let a few bites sit at room temperature for 3 to 5 minutes before you eat them. Try not to eat five in a row, or at least pretend to share.
Variations I’ve Tried
I swap peanut butter for almond butter or cashew butter when I want a slightly fancier flavor. Almond butter with dark chocolate and a pinch of flaky salt tastes like a coffee shop treat. Cashew butter gives a milder flavor that kids usually love.
For a crunchier version, I stir in crushed pretzels or crisped rice cereal to the peanut butter mixture. The pretzels add a salty crunch that pairs perfectly with the chocolate. Crisped rice gives a lighter crunch that feels almost like a candy bar.
For a higher protein snack, I mix in a scoop of vanilla or chocolate protein powder and adjust the honey or maple syrup so the mixture still holds together. I also roll some bites in finely shredded coconut instead of dipping in chocolate. Those taste lighter and work well for breakfast or pre workout snacks.
For a dessert style version, I drizzle white chocolate over the dark chocolate shell and add colorful sprinkles. Kids treat those like mini truffles. I also swirl a little strawberry jam into the peanut butter mixture for a peanut butter and jelly vibe.
How to Serve Frozen Peanut Butter Bites
Serve these Frozen Peanut Butter Bites Recipe straight from the freezer for a firm, candy like texture, or let them sit a few minutes for a creamier center. I like to pile them in a small bowl and set them out after dinner as a grab and go dessert. They pair nicely with cold milk, iced coffee, or a simple cup of hot tea.
You can also tuck a couple into lunch boxes, just keep an ice pack nearby so they stay chilled. For a fun dessert board, mix them with fresh berries, sliced bananas, and a few pretzels for contrast.
How to store
- Fridge: Store the bites in an airtight container in the fridge for up to 1 week.
- Freezer: Keep them in a freezer safe container or zip bag for 2 to 3 months.
- Layering tip: Place parchment between layers so the bites do not stick together.
- Serving from frozen: Eat them straight from the freezer for a firmer texture, or let them sit at room temperature for 3 to 5 minutes for a softer bite.
- No reheating: Skip the microwave, since heat can melt the chocolate and turn the centers oily.
Ingredients
Instructions
- Line a baking sheet with parchment paper and set aside.
- In a medium bowl, stir together the peanut butter, honey or maple syrup, vanilla extract, and salt until smooth and well combined.
- If using mini chocolate chips, gently fold them into the peanut butter mixture.
- Scoop out small portions of the mixture, about 1 tablespoon each, and roll into balls with your hands.
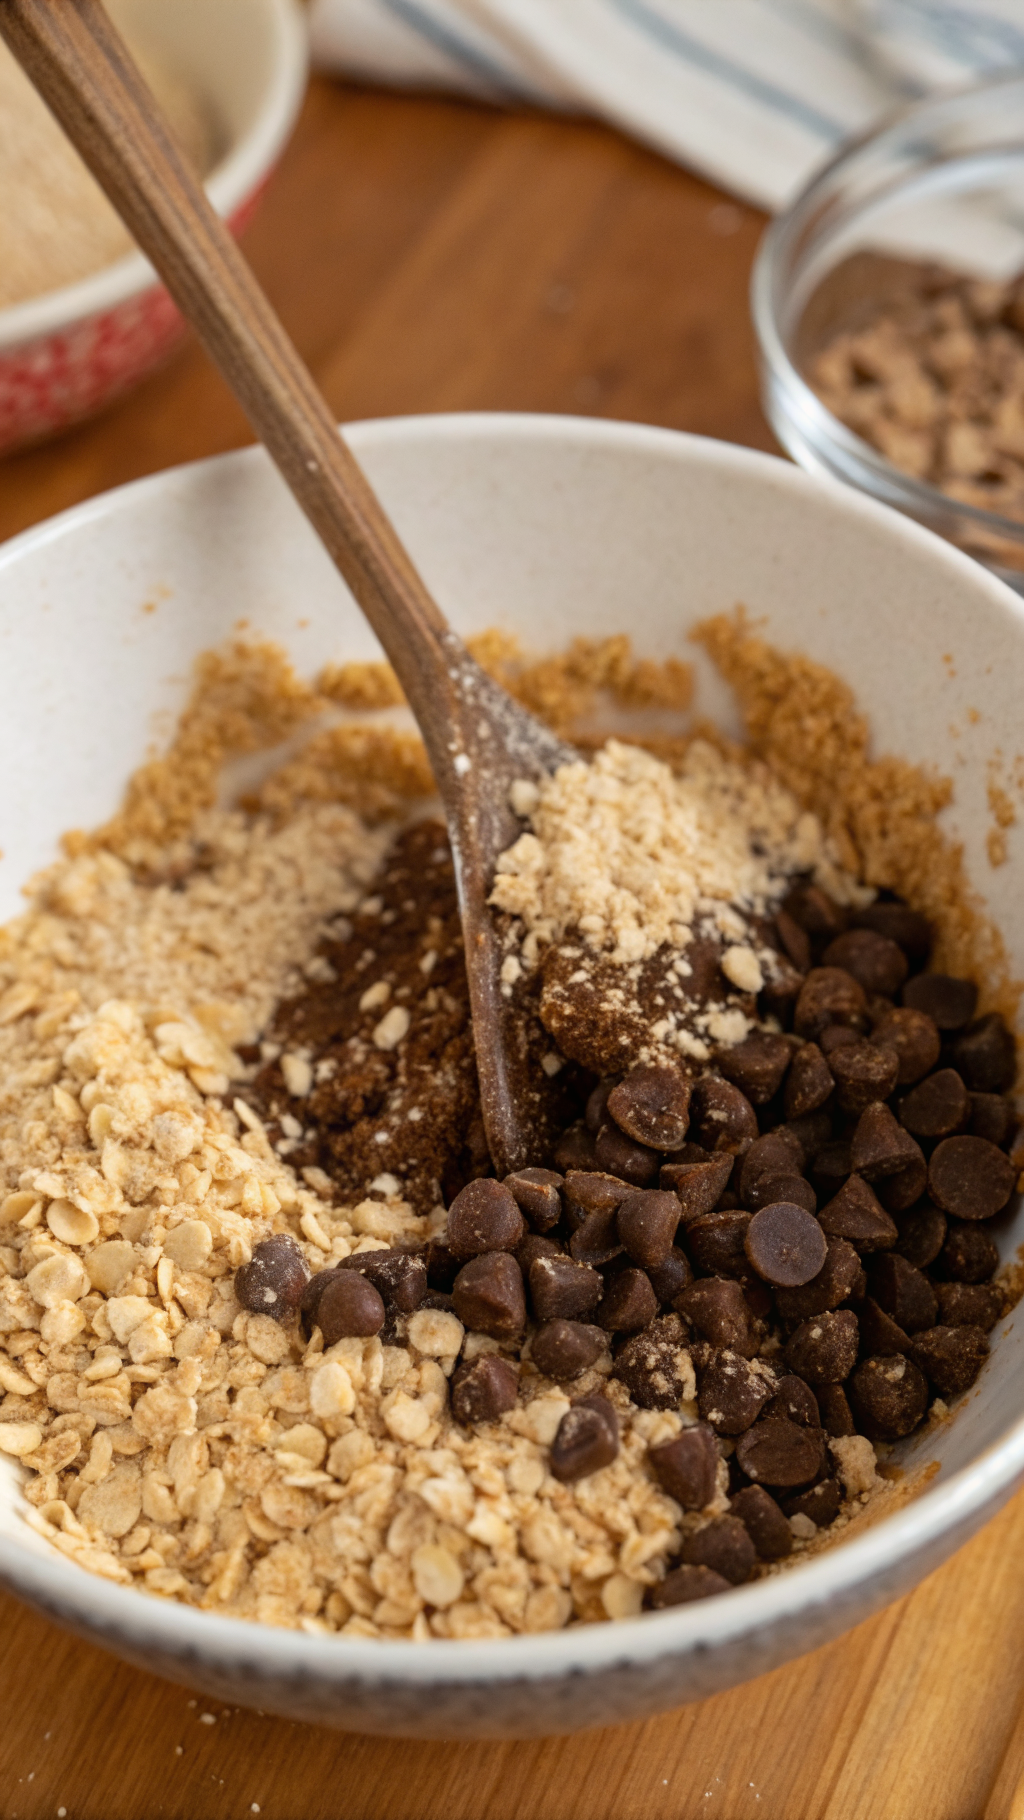
- Roll each ball in the crushed graham crackers or oats to coat, then place on the prepared baking sheet.
- Freeze for at least 2 hours, or until firm.
- Once frozen, transfer the bites to an airtight container and store in the freezer until ready to enjoy.
Notes
Approximate per 1 bite (1 of 16): 120 calories; fat 8 g; saturated fat 2 g; carbohydrates 9 g; fiber 1 g; sugars 6 g; protein 4 g; sodium 80 mg. Values will vary based on brands, optional chocolate chips, and portion size.