Candied Walnuts Recipe tastes like crunchy little bites of buttery caramel with a hint of warm spice and a glossy, crackly shell. This small batch recipe works for busy snackers and holiday bakers alike, and you only need about 20 minutes from start to finish. I tested this version while my kids tried to steal walnuts off the pan, so you know it passed the “sneaky hand” test.
Why Make This Tasty Candied Walnuts Recipe at Home
Homemade candied walnuts taste fresher, crunchier, and more flavorful than anything in a bag. You control the sweetness, spice level, and even how toasting you want the nuts, so the recipe fits your taste instead of the other way around.
You also save serious money when you skip the fancy store versions. A simple skillet, a handful of pantry staples, and a few minutes of attention give you a snack that works for salads, desserts, and straight-from-the-jar munching.
“These crunchy, caramelized walnuts taste bakery-level good, but they come together in one pan in under 20 minutes.” ★★★★★
Ingredients You Need

Walnuts
- 2 cups walnut halves and pieces
Sugar and sweetness
- 1 cup granulated sugar
- White sugar gives a clear, glassy coating and classic candy crunch.
- You can use half white sugar and half light brown sugar for a deeper caramel flavor.
- 2 tablespoons maple syrup or honey (optional, for extra shine and flavor)
- Maple syrup adds a cozy flavor that works great for fall salads and snack boards.
- Honey gives a floral note and slightly chewier coating.
Flavor boosters
- 1 teaspoon ground cinnamon
- 1 teaspoon pure vanilla extract
- 1 teaspoon fine sea salt
- 1 to 2 pinches ground nutmeg or allspice (optional, for warmth)
- 1 pinch cayenne pepper (optional, for a gentle kick)
I like Saigon cinnamon for a stronger, sweeter cinnamon flavor. Use real vanilla extract, not imitation, because the flavor stands out in such a simple recipe.
Fat
- 2 tablespoons unsalted butter
- Butter adds richness and helps the sugar coat the walnuts evenly.
- Use coconut oil for a dairy free version with a light coconut aroma.
Liquid
- 1/4 cup water
- Water helps the sugar dissolve and coat the nuts before it crystallizes and turns glossy.
Equipment list
- Heavy skillet or sauté pan (10 to 12 inch, preferably stainless steel or cast iron)
- Heatproof spatula or wooden spoon
- Measuring cups and spoons
- Parchment paper or silicone baking mat
- Baking sheet or large heatproof cutting board for cooling
- Airtight container or glass jar for storage
Tips & Mistakes
- Stir constantly once the sugar starts to bubble so the walnuts coat evenly and do not scorch.
- Use medium heat, not high heat, so the sugar caramelizes slowly and does not burn.
- Line the cooling surface with parchment or a silicone mat so the walnuts do not glue themselves to your pan.
- Spread the hot candied walnuts in a single layer so they cool crisp instead of steaming and turning sticky.
- Separate big clumps with two forks while the coating still feels warm and pliable.
- Measure ingredients before you start because the cooking stage moves fast.
- Use fresh walnuts because old nuts taste bitter and ruin the batch.
- Avoid adding vanilla directly to very hot sugar without stirring; add it off the heat and stir quickly to prevent scorching.
- Do not walk away from the stove; sugar can jump from perfect to burnt in under a minute.
- Let the walnuts cool fully before storing so condensation does not soften the candy shell.
How to Make Candied Walnuts
Step 1: Prep the pan and nuts
Line a baking sheet with parchment paper or a silicone baking mat. Set it near the stove so you can transfer the hot candied walnuts quickly. Measure all ingredients and keep them within reach, because the sugar stage moves quickly.
Pour the walnuts into a bowl and pick out any tiny broken bits or shell fragments. Smaller crumbs burn faster, so keep mostly halves and larger pieces. This simple step keeps the flavor clean and toasty, not bitter.
Step 2: Heat the sugar mixture
Place a heavy skillet over medium heat. Add the sugar, water, cinnamon, salt, and optional nutmeg or cayenne. Stir to moisten all the sugar so no dry patches remain.
Cook the mixture, stirring often, until the sugar dissolves and the syrup starts to bubble gently. The liquid will look cloudy at first, then turn more clear as the sugar dissolves. Keep the heat at medium so the syrup thickens slowly and evenly.
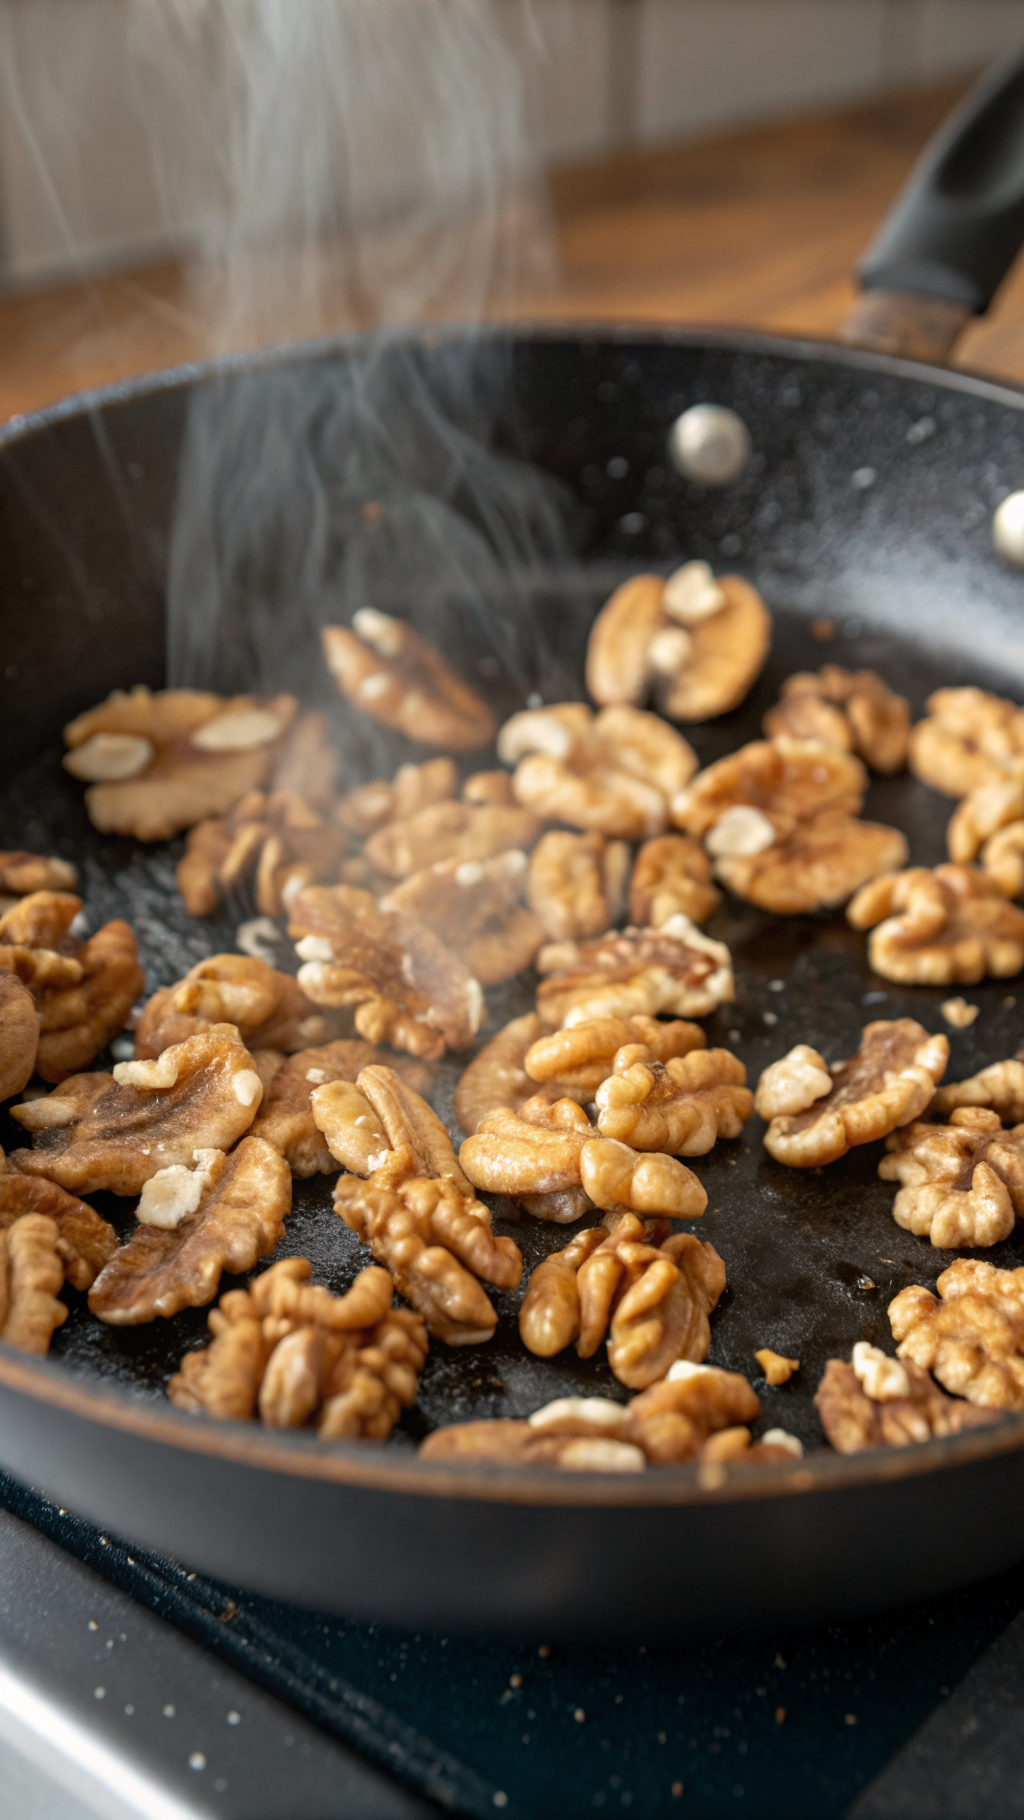
Step 3: Add the walnuts
Once the syrup bubbles and looks slightly thick, add the walnuts to the pan. Stir so every piece touches the syrup. Coat the nuts thoroughly so the sugar mixture clings to every surface.
Continue to cook over medium heat. Stir constantly so the nuts toast evenly and the sugar does not burn on the bottom of the pan. The syrup will look shiny and loose at first.
Step 4: Let the sugar crystallize
After a few minutes, the syrup will thicken and start to look grainy. The sugar will crystallize and coat the walnuts with a sandy, dry-looking layer. Keep stirring through this stage, because it looks wrong but it actually signals the right path.
The walnuts will look dull and rough instead of glossy. Keep the heat at medium and stir until the sugar crystals start to melt again in spots. This stage builds that crunchy, candy shell everyone loves.
Step 5: Add butter and vanilla
When the sugar starts to melt again and the nuts look partly glossy, turn the heat to low. Add the butter and stir until it melts and coats the nuts. The mixture will look smoother and more caramel-like.
Turn off the heat and quickly stir in the vanilla extract. The pan may hiss a bit, so keep your face back. Stir until the walnuts look evenly glossy and every piece carries a shiny coating.
Step 6: Spread and cool
Immediately pour the hot candied walnuts onto the prepared parchment lined baking sheet. Use a spatula to spread them into a single layer. Work quickly because the sugar firms up as it cools.
Use two forks to separate big clumps while the nuts still feel warm. Let the walnuts cool completely at room temperature. Once cool, the coating will feel hard and crisp, and the walnuts will break apart easily.
Step 7: Taste and adjust salt
Taste one walnut once they cool fully. If you want a little more contrast, sprinkle a tiny pinch of flaky sea salt over the top and toss gently. The sweet and salty balance really wakes up the flavor.
If you plan to use the candied walnuts for salads, keep the salt level a bit higher. If you plan to use them for desserts, keep the salt more subtle. Either way, adjust to your taste while the coating still feels slightly tacky so the salt sticks.
Variations I’ve Tried
I like a chai style version with cinnamon, nutmeg, ginger, and a pinch of cardamom for cozy fall salads and yogurt bowls. A cocoa cinnamon version with 1 tablespoon unsweetened cocoa powder and a bit of extra sugar tastes like a crunchy brownie topping. For a spicy snack mix, I add smoked paprika and cayenne and toss the cooled walnuts with roasted pepitas and pretzels.
You can also make an orange vanilla batch with 1 teaspoon orange zest stirred in at the end with the vanilla. For a lighter sweetness, I cut the sugar to 3/4 cup and add 2 extra tablespoons maple syrup, which gives a thinner, slightly chewier coating. I even tested a coconut version with coconut oil and shredded coconut sprinkled on while the nuts cooled, and my kids inhaled that batch in one afternoon.
How to Serve Candied Walnuts
Serve these candied walnuts as a snack in small bowls, because they disappear faster than you expect. Sprinkle them over green salads with sliced apples, pears, or berries for crunch and sweetness. Use them as a topping for oatmeal, yogurt parfaits, chia pudding, or vanilla ice cream for a dessert that tastes fancy but takes almost no effort. Pack small jars as gifts for neighbors, teachers, or friends who appreciate a homemade treat.
How to store
- Store cooled candied walnuts in an airtight container at room temperature for up to 2 weeks.
- Keep them in the fridge for up to 1 month if your kitchen runs warm or humid.
- Freeze in a freezer safe bag or container for up to 3 months; press out extra air to protect the texture.
- To refresh, spread walnuts on a parchment lined baking sheet and warm in a 300°F oven for 5 to 7 minutes, then cool completely for maximum crunch.

Candied Walnuts Recipe
Ingredients
Instructions
- Line a baking sheet with parchment paper or a silicone baking mat and set aside.
- In a large skillet over medium heat, combine the sugar, butter, and water. Stir frequently until the butter melts and the mixture begins to bubble.
- Add the walnut halves to the skillet and stir to coat them evenly with the sugar mixture.
- Continue cooking, stirring constantly, for 5–7 minutes or until the sugar mixture thickens, turns glossy, and clings to the walnuts. Watch carefully to prevent burning.
- Remove the skillet from the heat and quickly stir in the cinnamon and salt until evenly distributed.
- Transfer the coated walnuts to the prepared baking sheet, spreading them out in a single layer and separating them as much as possible with a spatula or forks.
- Allow the candied walnuts to cool completely until the coating hardens and the nuts are no longer sticky.
- Once fully cooled, break apart any clusters if desired and store the candied walnuts in an airtight container at room temperature.
Notes
Approximate per serving (about 1/4 cup): 210 calories; fat 18 g; saturated fat 3 g; carbohydrates 11 g; fiber 2 g; sugars 8 g; protein 4 g; sodium 80 mg. Values will vary based on specific ingredients, cooking time, and portion size.