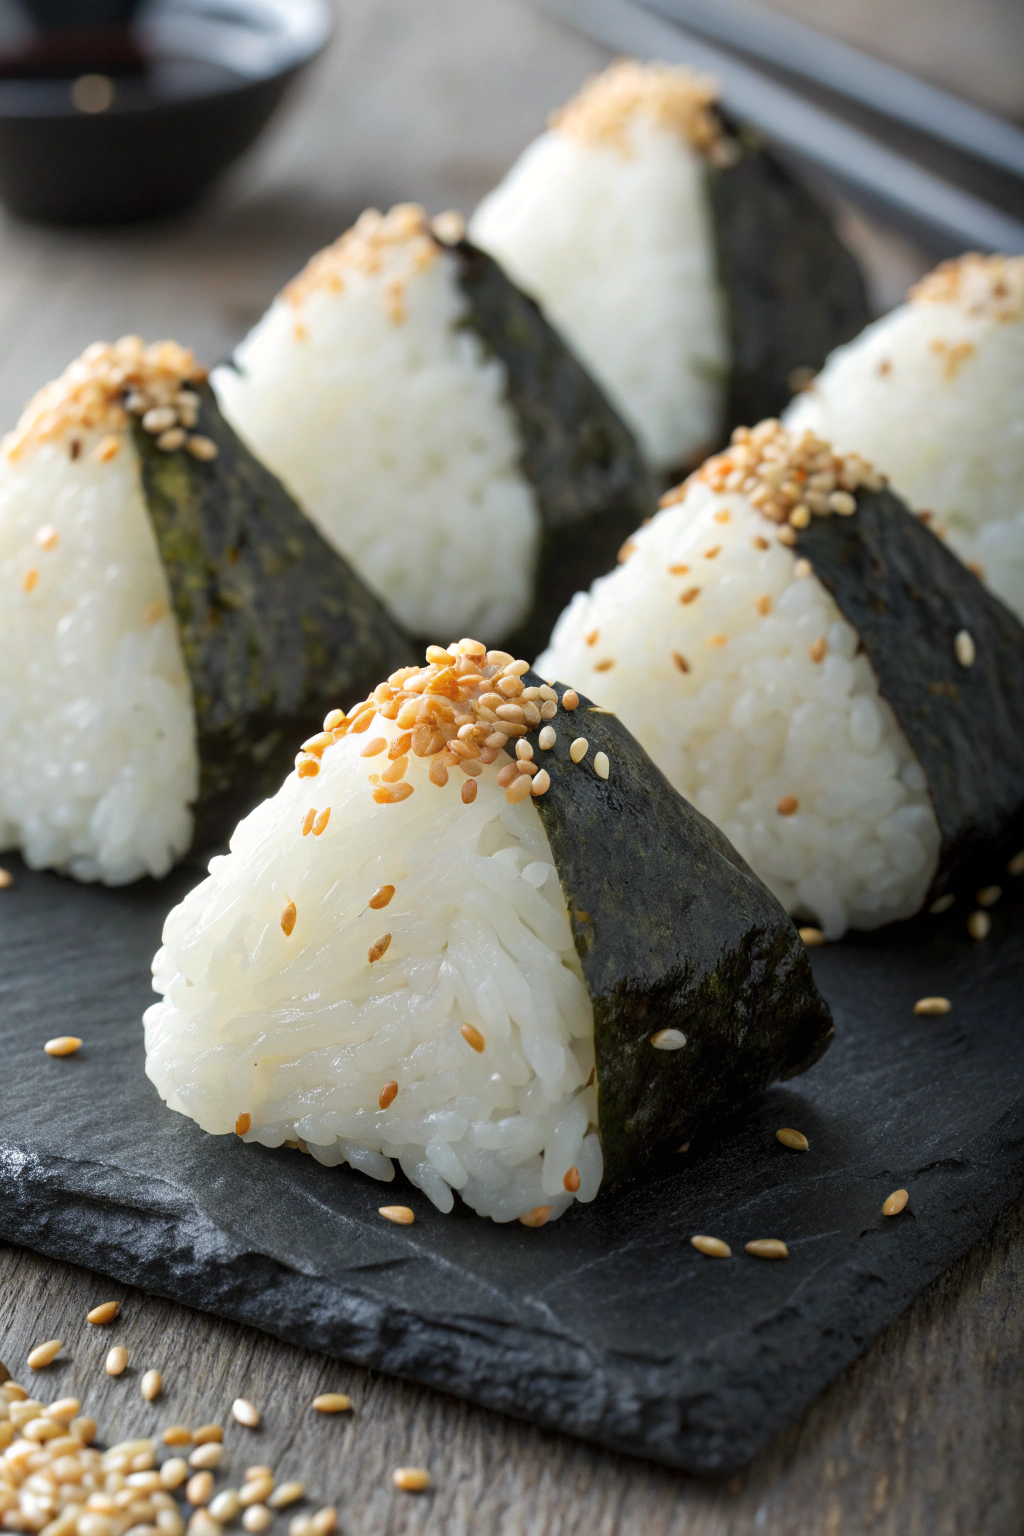
How to Make Tuna Mayo Onigiri Recipe packs creamy tuna, fluffy salted rice, and a crisp nori hug in every bite. I started making these during late nights in a tiny apartment, and they still save my lunch game. The texture feels cozy, the flavor hits umami and a hint of sweetness, and the nori adds that satisfying snap. This is for anyone who wants a quick snack, bento star, or picnic hero in about 30–40 minutes. I shape a batch for the week and feel pretty pleased with myself.
Easy Tuna Mayo Onigiri Recipe
How to Make Tuna Mayo Onigiri Recipe works because it relies on pantry staples and a few Japanese condiments that deliver bold flavor fast. Kewpie mayo brings silky richness, while a splash of soy and rice vinegar brightens the tuna. Warm, short-grain rice sticks together just enough to hold a triangle without turning gummy.
Ingredients You’ll Need
• Servings: 8 onigiri (snack-size)
Rice
• 2 cups Japanese short-grain rice (Nishiki or Koshihikari work great; Calrose also works)
• 2 1/4 cups water (for rice cooker; use package water ratio if different)
• Fine salt (for seasoning hands and rice)
Tuna Mayo Filling
• 2 cans tuna, 5 oz/142 g each, well drained (oil-packed = richer; water-packed = lighter)
• 3 tbsp Kewpie mayo (or 3 tbsp regular mayo + 1/2 tsp sugar)
• 1–2 tsp soy sauce (use tamari for gluten-free)
• 1–2 tsp rice vinegar or lemon juice
• 1 tsp sesame oil, optional
• 1 tsp sriracha or 1/2 tsp wasabi, optional for heat
• 1 tbsp finely chopped scallion or 1 tsp minced onion, optional
• Black pepper to taste
To Finish
• 4 full nori sheets, cut into 8 wide strips (use roasted seaweed for onigiri/sushi)
• Furikake, optional (Nori Komi or salmon furikake add crunch and umami)
• Bowl of water for dipping fingers
Pantry shortcuts and notes
• No Kewpie? Use regular mayo with a pinch of sugar and extra vinegar.
• Canned salmon or chicken also work with the same seasoning.
• Onigiri molds make neat triangles, but plastic wrap and your hands work fine.
How to Make Tuna Mayo Onigiri
Prep: 15 minutes – Cook: 20 minutes – Cool: 5–10 minutes – Total: 35–45 minutes
- Rinse the rice: Rinse rice under cool water, swishing until the water runs mostly clear, about 3–4 rinses. Drain well.
- Cook the rice: Add rice and water to a rice cooker and cook on the regular setting (about 20 minutes). On the stovetop, simmer covered on low 16–18 minutes, then rest 10 minutes off heat.
- Mix the filling: While rice cooks, combine drained tuna, mayo, soy sauce, rice vinegar, sesame oil (if using), sriracha/wasabi (if using), scallion/onion, and pepper. Taste and adjust salt or acidity.
- Set up for shaping: Transfer hot rice to a wide bowl. Fan or fluff 2–3 minutes until just warm and easy to handle. Keep a small bowl of water and a pinch bowl of salt nearby.
- Portion the rice: Wet your hands, rub a tiny pinch of salt on your palms, and scoop about 1/2 cup warm rice (90–110 g). Flatten it gently into a thick disc in your palm.
- Add filling: Place 1–1 1/2 tablespoons tuna mayo in the center. Top with another 2–3 tablespoons rice to cover the filling.
- Shape triangles: Cup your hands to form a triangle, pressing lightly on the edges and turning the onigiri as you go, about 10–15 seconds. Keep your hands damp so the rice doesn’t stick.
- Finish and wrap: Sprinkle furikake on the outside if you like. Wrap a strip of nori around the bottom right before serving for crunch.
- Repeat: Continue with remaining rice and filling. You’ll get about 8 snack-size onigiri.
Expert tips & Mistakes to Avoid
• Use warm rice, not hot: Hot rice crumbles and hurts your hands; cold rice won’t stick. Aim for comfortably warm.
• Salt your hands lightly: The salt seasons the rice and prevents sticking. Don’t overdo it.
• Drain tuna very well: Excess liquid breaks the rice structure and makes soggy onigiri.
• Don’t overmix or mash the rice: Gentle handling keeps grains intact and the texture plush.
• Wrap nori at the last minute: Keep it crisp. If packing for lunch, store nori strips separately.
• Too much filling: Add enough for flavor but keep the center compact, or the onigiri will split.
• Wet, not dripping hands: Water stops sticking; dripping hands make the rice watery.
• Press gently: Firm enough to hold, soft enough to stay tender. Heavy pressure makes dense rice bricks.
Variations I’ve Tried
• Gluten-free: Use tamari instead of soy sauce; most mayo and nori are naturally gluten-free.
• Spicy tuna: Add extra sriracha, chili crisp, or togarashi to the filling.
• Vegan: Swap tuna with mashed chickpeas or jackfruit; use vegan mayo and a splash of vegan dashi or soy for umami.
• Furikake rice: Mix 1–2 tbsp furikake into the rice before shaping for extra flavor.
• Add-ins: Corn kernels, minced cucumber, shiso leaves, or chopped pickles (takuan) bring crunch.
• Brown rice: Use short-grain brown rice and add 1–2 tsp neutral oil to the filling for richness.
• No nori: Wrap with lettuce leaves or use soy paper.
What to Serve With it
I serve tuna mayo onigiri with miso soup, chilled cucumber sunomono, and salted edamame for a simple set. Pickled daikon or kimchi adds a bright, tangy contrast that cuts through the creamy filling. For drinks, I pour hot green tea in cool weather and barley tea on warm days. If you want more protein, add a jammy soy egg or a few slices of pan-seared tofu on the side.
Make-Ahead and Storage
Same-day best: Shape in the morning and enjoy within 6 hours for peak texture. Keep them cool and add nori right before eating.
Refrigerate: Store tightly wrapped onigiri in an airtight container up to 2 days. Rice firms up in the fridge, so rewarm each onigiri 15–25 seconds in the microwave with a damp towel, then add nori.
Lunchbox safety: Pack with an ice pack if you won’t eat within 2 hours. I keep the nori in a separate baggie.
Freeze: For best texture, freeze plain rice triangles up to 1 month and add fresh filling later. If you freeze filled onigiri, expect a softer filling after thawing; thaw overnight in the fridge and warm briefly.
Nutrition Information
Approximate per onigiri (1 of 8): 240 calories; 38 g carbs, 9 g protein, 7 g fat, 1 g fiber, 520 mg sodium (varies with soy and mayo).
Notes: Use water-packed tuna and regular mayo to lighten the fat, or oil-packed tuna and Kewpie for richer flavor. Tamari can reduce sodium if you choose a low-sodium brand.
Tuna Mayo Onigiri
Ingredients
Instructions
- In a bowl, mix drained tuna, Japanese mayonnaise, and soy sauce until well combined.
- Season cooked rice with a little salt and let it cool to a manageable temperature.
- Wet your hands with water and lightly salt them to prevent rice from sticking.
- Take about 1/3 cup of rice and flatten it in your palm.
- Place a spoonful of tuna mayo mixture in the center, then fold rice over the filling and shape into a triangle.
- Wrap a strip of nori around the rice ball.
- Repeat with remaining ingredients. Serve immediately or wrap for later.