Key Lime Pie Bars With Vanilla Wafer Crust always remind me of sunny days spent by the beach. The tangy lime filling paired with a sweet and crunchy crust creates a perfect balance that dances on your taste buds. These bars are not only delicious but also easy to make, making them a favorite in my kitchen. Today, I want to share my experience with these delightful treats and guide you through the process of making your own Key Lime Pie Bars With Vanilla Wafer Crust.
The Allure of Key Lime Pie Bars With Vanilla Wafer Crust
Key lime pie has been a classic dessert for ages. However, turning this beloved pie into bars makes it even more accessible. I remember the first time I had a slice of Key lime pie. The bright flavor of the lime was refreshing, and the creamy texture was so satisfying. When I discovered how to make it in bar form, I was over the moon. These bars are perfect for gatherings, picnics, or just a sweet treat at home.
Why Vanilla Wafer Crust?
The crust is a crucial part of any dessert. In this case, the vanilla wafer crust is a game-changer. It adds a sweet and buttery flavor that complements the tartness of the lime filling. Plus, it’s incredibly easy to prepare. Just crush the wafers, mix with butter, and press into a pan. I love how simple it is to achieve a delicious crust without the fuss of traditional pie crusts.
Ingredients for Key Lime Pie Bars With Vanilla Wafer Crust
To make Key Lime Pie Bars With Vanilla Wafer Crust, you will need the following ingredients:
Crust:
Filling:
- 1 can (14 ounces) sweetened condensed milk
- 1/2 cup fresh key lime juice (or regular lime juice)
- 2 large egg yolks
- Zest of 2 limes
Topping:
How to Make Key Lime Pie Bars With Vanilla Wafer Crust
Making these bars is a straightforward process. Here’s how I do it:
Step 1: Prepare the Crust
First, preheat your oven to 350°F (175°C). In a mixing bowl, combine the vanilla wafer crumbs, melted butter, and sugar. Mix until everything is well combined. Then, press this mixture firmly into the bottom of a greased 9×9-inch baking dish. Bake for about 10 minutes until the crust is golden brown. Let it cool while you prepare the filling.
Step 2: Make the Filling
In another bowl, whisk together the sweetened condensed milk, lime juice, egg yolks, and lime zest. The mixture should be smooth and creamy. Pour this filling over the cooled crust. Bake for an additional 15-20 minutes until the filling is set but still slightly jiggly in the center. Remove from the oven and let it cool at room temperature.
Step 3: Chill and Serve
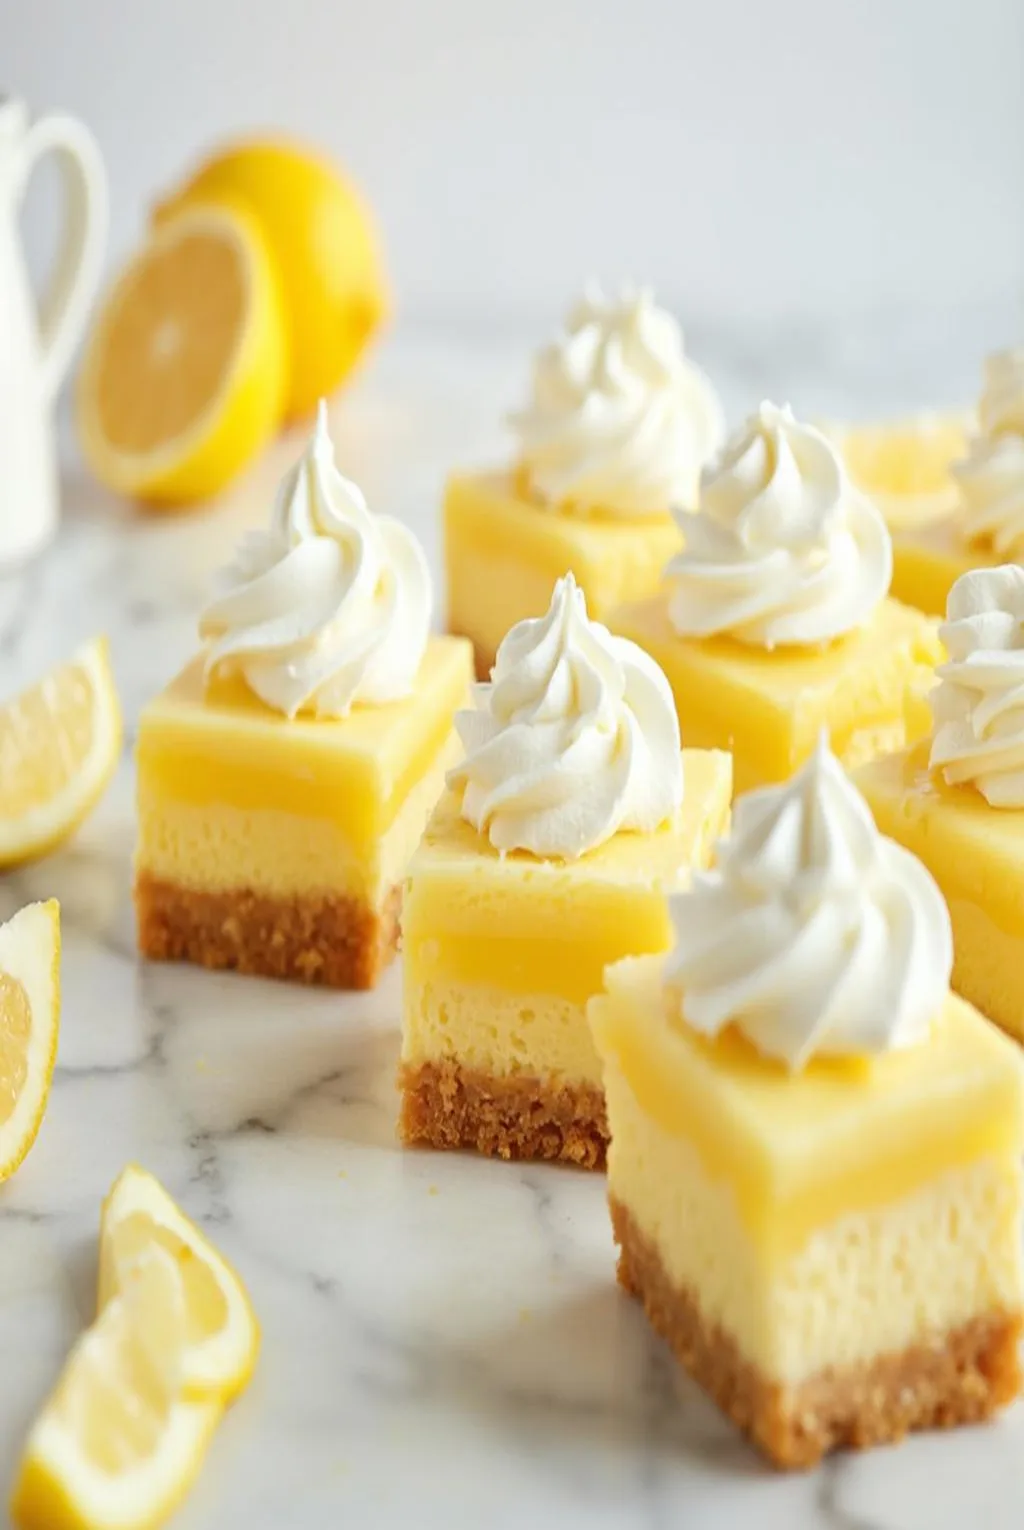
Once cooled, place the baking dish in the refrigerator for at least 2 hours. This chilling time helps the bars firm up and enhances the flavors. When you’re ready to serve, cut into squares and top with whipped cream and lime slices if desired.
Tips for Key Lime Pie Bars With Vanilla Wafer Crust
To ensure your Key Lime Pie Bars turn out perfectly, consider these tips:
- Use Fresh Lime Juice: Freshly squeezed lime juice makes a noticeable difference in flavor. It adds brightness that bottled juice just can’t replicate.
- Don’t Overbake: Keep an eye on the filling. It should be set but still slightly wobbly in the center. Overbaking can lead to a rubbery texture.
- Chill Thoroughly: Allowing the bars to chill for a couple of hours is essential. This step helps the flavors meld and makes slicing easier.
Serving Suggestions
These bars are delicious on their own, but there are ways to elevate them even more. Here are some ideas:
- Add Fresh Berries: Serve with fresh strawberries or blueberries for a pop of color and added sweetness.
- Garnish with Mint: Fresh mint leaves add a refreshing touch and a beautiful presentation.
- Pair with Ice Cream: A scoop of vanilla or coconut ice cream alongside the bars can take your dessert experience to the next level.
Storage Tips
If you find yourself with leftovers (which is rare in my house), storing them properly is essential. Here’s how I do it:
- In the Refrigerator: Keep the bars in an airtight container in the fridge for up to a week.
- Freezing: You can also freeze the bars. Wrap them individually in plastic wrap and place them in a freezer-safe container. They will last for about 2-3 months.
Why I Love Making These Bars
Every time I make Key Lime Pie Bars With Vanilla Wafer Crust, I am reminded of family gatherings and sunny days. The process is easy, and the end result is always a hit. I enjoy sharing these bars with friends and family, and it brings me joy to see their smiles as they take a bite.
Variations
While the classic recipe is fantastic, there are plenty of ways to switch things up. Here are some variations I’ve tried:
- Coconut Lime Bars: Add shredded coconut to the crust for a tropical twist. You can also mix some into the filling.
- Chocolate Drizzle: Drizzle melted chocolate over the bars before serving for a decadent touch.
- Fruit Swirl: Incorporate a fruit puree, like raspberry or passion fruit, into the filling for a colorful and flavorful addition.
Key Lime Pie Bars With Vanilla Wafer Crust are a delightful dessert that everyone should try. They are simple to make, bursting with flavor, and perfect for any occasion. Whether you are hosting a party or just want a sweet treat at home, these bars will not disappoint. I hope you enjoy making and sharing them as much as I do!