Every time I make this Easter Cookie Cake recipe, I am filled with nostalgia. My first attempt was a couple of years ago when I wanted something special for my kids. I pulled together my basic cookie dough recipe and added a few fun elements to it. And there it was, the wonderful Easter Cookie Cake was born, bursting with flavor and cheer.
Why You’ll Love This Easter Cookie Cake Recipe
This Easter Cookie Cake is a delightful dessert that checks all the boxes. It’s easy to make, beautifully festive, and oh-so-delicious. The blend of cookie dough and cake makes it something special. Here are a few reasons why this recipe is a must-try:
- Fun to Decorate: You can use colorful icing, sprinkles, or candies to transform this cake into a vibrant masterpiece.
- A Crowd-Pleaser: Great for gatherings, this dessert appeals to all ages, making it perfect for your Easter celebrations.
- Customizable: Feel free to add nuts, chocolate chips, or favorite candies to personalize this cake.
Ingredients for Easter Cookie Cake Recipe
Before starting, it’s important to have all the ingredients ready to go. Here’s what I used:
- Butter: A key ingredient for that rich flavor.
- Sugar: Granulated sugar and brown sugar for a sweet, moist texture.
- Eggs: Needed to bind the ingredients together.
- Flour: All-purpose flour is perfect for a soft cake.
- Baking Powder: Provides the rise.
- Vanilla Extract: Adds a herby sweetness.
- Chocolate Chips: For that added treat with every bite.
- Easter Candies: Think colorful chocolate eggs or jellybeans for decoration.
How to Make Easter Cookie Cake Recipe
Making this cake is simple and fun. You do not need any advanced baking skills. Here are the steps I follow to make my perfect Easter Cookie Cake.
Step 1: Preheat the Oven
Start by preheating your oven to 350°F (175°C). This ensures that the cake bakes evenly. While the oven heats up, gather all your ingredients together.
Step 2: Prepare the Baking Pan
Use a 9×13 inch baking pan. Grease the pan lightly with butter or cooking spray. I often like to line the bottom with parchment paper for easy removal later.
Step 3: Mix the Dry Ingredients
In a large bowl, mix together flour, baking powder, and a pinch of salt. This step helps distribute the baking powder evenly throughout the flour.
Step 4: Cream the Butter and Sugars
In a separate bowl, cream together softened butter, granulated sugar, and brown sugar until it looks light and fluffy. I often use a hand mixer for this part, but you can absolutely do it by hand too.
Step 5: Add Eggs and Vanilla
Next, beat in the eggs one at a time, mixing well after each addition. Then, add the vanilla extract. The aroma at this stage is just fantastic!
Step 6: Combine with Dry Ingredients
Gradually add the dry mixture to the wet mixture. Stir until combined and don’t over-mix. This is where you can fold in your chocolate chips. Oh, how I love this step!
Step 7: Bake Your Cookie Cake
Pour the batter into the prepared baking pan and spread it out evenly. Bake for 25 to 30 minutes or until a toothpick inserted into the center comes out clean. The house will smell amazing as it bakes!
How to Frost the Easter Cookie Cake
Once the cake is baked, let it cool in the pan for about 10 minutes. Then, transfer it to a wire rack to cool completely. You can’t frost a warm cake, so patience is key!
Frosting and Decoration Ingredients
For the frosting, you will need:
- Butter: Softened, please.
- Powdered Sugar: Contributes to the sweetness and smoothness.
- Milk: To achieve the desired consistency.
- Vanilla Extract: To add flavor.
Making the Frosting
- In a bowl, beat the softened butter until creamy.
- Gradually add powder sugar and milk, mixing until you reach a spreadable consistency.
- Mix in the vanilla extract and give it one more mix until everything is well combined.
Frosting the Cake
Once the cake is cool, use a spatula to spread the frosting evenly over the top. I love adding plenty of frosting, so don’t hold back!
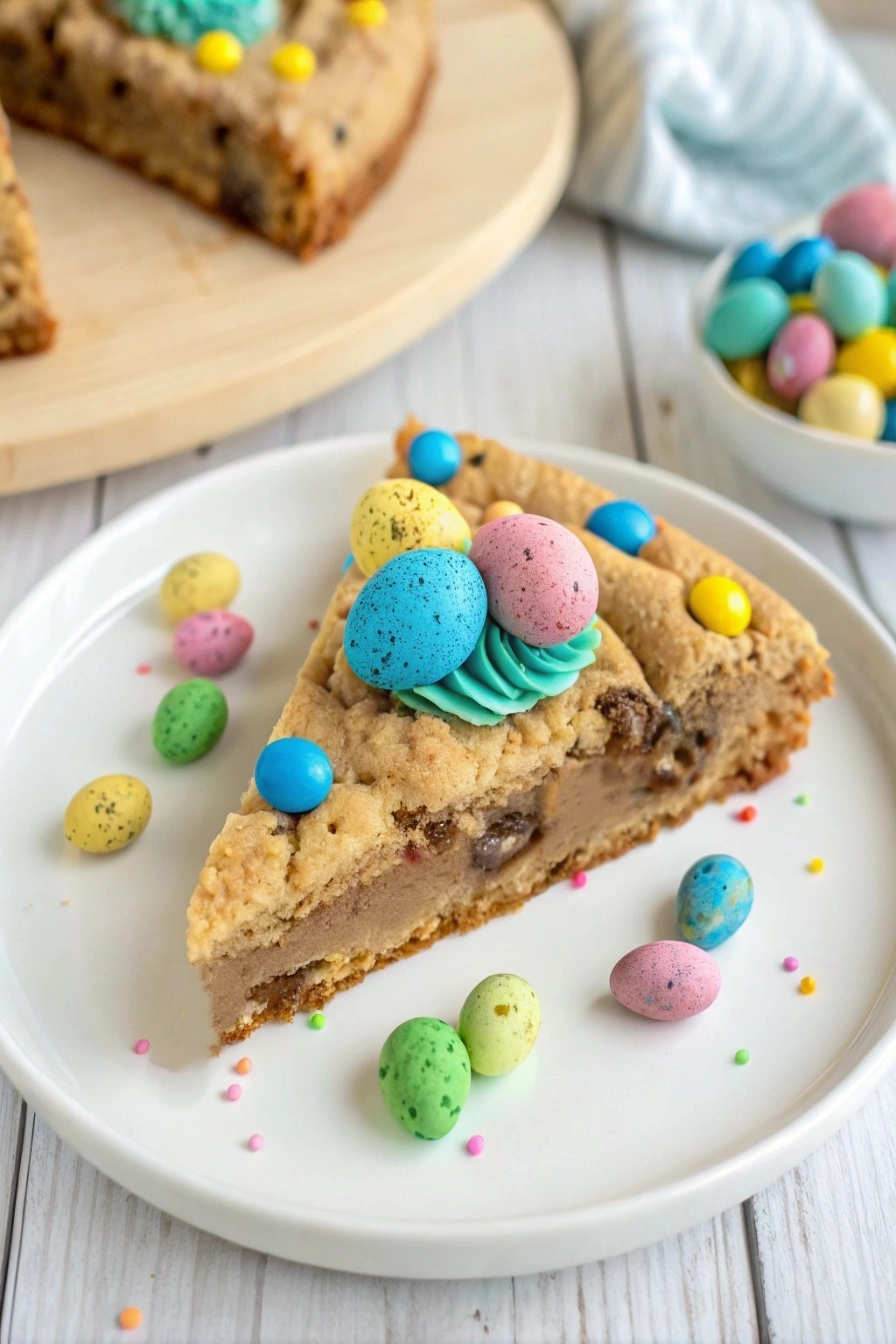
Decorating Your Easter Cookie Cake
Now comes the fun part—decorating! I love this moment because it allows me to express my creativity. Here’s how I decorate my cake:
- Colorful Sprinkles: They bring festivity and cheer.
- Chocolate Eggs or Jelly Beans: Place them across the top for a stunning visual.
- Piping Icing: You can pipe some decoration around the edges for elegance.
A Note on Personalization
Feel free to get creative! You can use edible glitter, themed shapes, or anything else you can think of. The sky’s the limit!
Serving Suggestions for Easter Cookie Cake
When it’s time to serve, cut the cake into squares or rectangles. I place my slices onto colorful plates or even grass-like paper for a spring vibe. Here are some serving ideas:
- With Whipped Cream: Add a dollop for extra creaminess.
- Serve with Fresh Fruit: It pairs nicely with strawberries or blueberries.
- A Cup of Tea or Coffee: This makes for a cozy dessert experience.
Storage Tips for Your Cake
Leftovers? Not a problem. Here’s how I store my Easter Cookie Cake:
- In an Airtight Container: Keep it at room temperature for about 3 days.
- Refrigeration: If you want it lasting longer, store it in the fridge for up to a week.
- Freezing: You can freeze the cake for up to three months. Just wrap it tightly in plastic wrap or aluminum foil.
Enjoying Your Easter Cookie Cake Recipe
This Easter Cookie Cake is more than just a dessert. It’s a way to bond with family and create beautiful memories during this lovely holiday. Over the years, I have seen my kids grow up enjoying this cake, and it has become a cherished tradition in my home.
I encourage you to experiment and make this cake your own. Change it up with flavors, add your unique decorations, and have fun! Every bite tells a story and every celebration brings joy.
