Crispy Japanese Katsu Bowls Recipe saved my weeknight sanity after a late shoot, and that shatter-crisp bite still makes me grin. It tastes like juicy panko chicken with sweet-tangy sauce over fluffy rice, perfect for busy cooks and picky eaters, and the total time lands around 40 minutes.
Easy Crispy Japanese Katsu Bowls Recipe
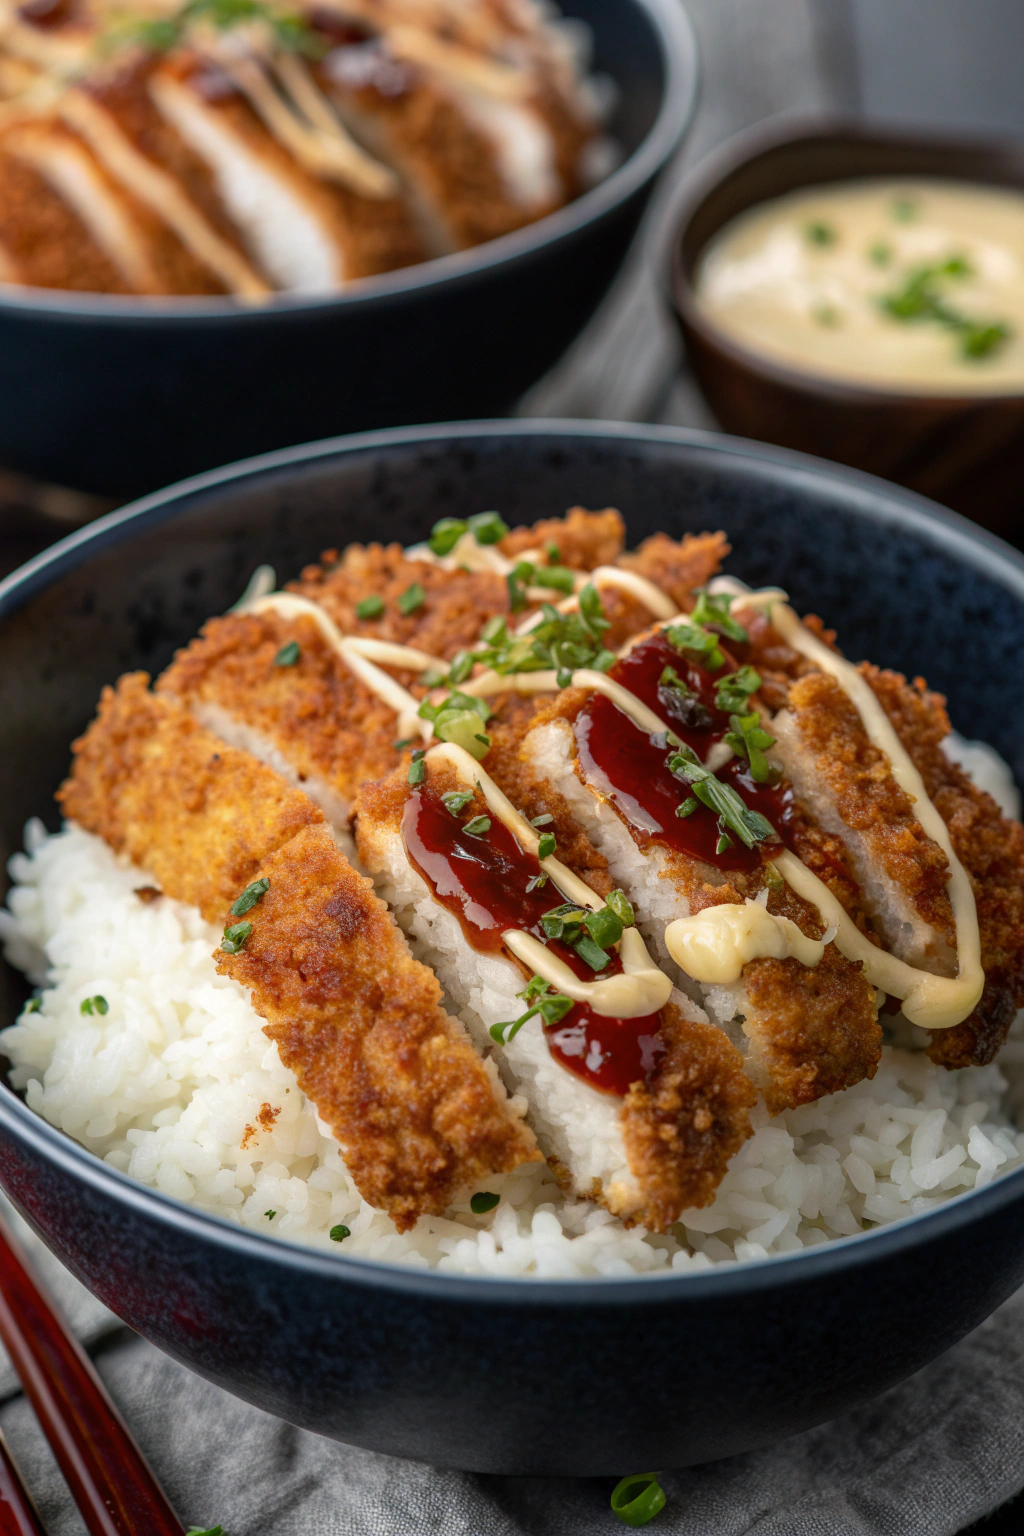
This Crispy Japanese Katsu Bowls Recipe nails maximum crunch by pounding the cutlets thin so they cook fast and stay juicy. I season the flour and the meat, then use a double-coat with panko for a thick, light crust. A quick shallow fry at the right temperature locks in moisture and keeps the breading crisp.
I keep the bowl build simple: hot rice, fresh shredded cabbage, and a punchy tonkatsu-style sauce. That combo gives crunchy, tender, saucy, and fresh in every bite. Your fork will not get bored.
Ingredients You’ll Need
- Chicken:
- 1½–2 pounds boneless, skinless chicken thighs or breasts (thighs stay juicier)
- 1 teaspoon kosher salt + ½ teaspoon black pepper
- ½ cup all-purpose flour (use rice flour for a lighter crust)
- 2 large eggs, beaten
- 1½ cups panko breadcrumbs (Japanese-style; I like Kikkoman or JFC)
- Neutral oil for shallow frying (canola, peanut, or avocado)
- Rice and veg:
- Quick tonkatsu-style sauce (or use Bulldog bottled to save time):
- Pantry shortcuts and swaps:
- Use bottled tonkatsu sauce to cut a step.
- Swap bagged coleslaw for hand-shredded cabbage.
- Use frozen rice packs for speed on weeknights.
- Equipment:
- Large skillet or Dutch oven (12-inch) for shallow fry
- Wire rack set over a sheet pan
- Meat mallet or rolling pin
- Tongs and an instant-read thermometer
- Rice cooker or a lidded pot
How to Make Crispy Japanese Katsu Bowls
- Prep: 15 minutes
- Cook: 20–25 minutes
- Total: 35–40 minutes
- Prep the rice and sauce
- Start the rice so it finishes with the chicken. Whisk ketchup, Worcestershire, soy, sugar, rice vinegar, and optional mustard until smooth; set aside.
- Pound and season the chicken
- Place chicken between two sheets of plastic or parchment. Pound to ½-inch even thickness. Pat dry, then season both sides with salt and pepper.
- Set up the dredge
- Put flour in one shallow dish, beaten eggs in another, and panko in a third. Season the flour with a pinch of salt and pepper to build flavor from the start.
- Coat for crunch
- Dredge chicken in flour, shake off excess, dip in egg, then press into panko. For a thicker crust, dip the panko-coated chicken back into egg, then into panko again.
- Heat the oil
- Pour oil to about ½ inch depth in the skillet. Heat to 340–350°F. Drop a panko crumb in; it should bubble on contact.
- Fry the cutlets
- Fry 2–3 cutlets at a time without crowding. Cook 3–4 minutes per side until golden and 165°F inside. Move cooked cutlets to a wire rack to stay crisp.
- Slice and rest
- Let cutlets rest 2 minutes on the rack, then slice into strips with a sharp knife. This quick rest keeps the crust intact and the meat juicy.
- Build the bowls
- Scoop hot rice into bowls. Add a fluffy pile of shredded cabbage and cucumber slices. Top with sliced katsu, drizzle sauce, and finish with scallions and sesame seeds.
- Bonus pickle (optional, speedy)
- Toss cucumber with a pinch of salt, 1 teaspoon sugar, and 1 tablespoon rice vinegar. Let it sit while you fry; it adds a bright crunch.
Pro tips & Mistakes to Avoid
- Pound evenly so the chicken cooks fast and stays juicy.
- Dry the surface with paper towels so the breading sticks well.
- Season the flour to layer flavor.
- Keep oil at 340–350°F; low heat turns the crust greasy, high heat scorches it.
- Fry in batches; crowding drops the temperature and softens the crust.
- Drain on a wire rack, not paper towels, to keep the bottom crisp.
- Slice after a short rest so juices settle and the crust stays put.
- Use day-old rice for the best bowl texture if you want a slightly drier bite.
- Don’t soak panko in egg; press it gently so it adheres without clumping.
- Warm the sauce slightly; cold sauce cools the crust.
Variations I’ve Tried
- Gluten-free: Use rice flour, gluten-free panko, and tamari.
- Tofu katsu: Press extra-firm tofu, slice into planks, coat the same way, and fry or air fry.
- Air fryer: Spray both sides; cook at 390°F for 10–12 minutes, flipping once.
- Spicy: Add sriracha or gochujang to the sauce, or dust the panko with chili flakes.
- Curry style: Ladle Japanese curry over the rice and top with katsu.
- Veg boost: Add blanched edamame, pickled ginger, or quick-steamed broccoli.
How to Serve Japanese Katsu Bowls
Spoon hot rice into bowls, add a mound of crisp cabbage, and fan out the sliced katsu on top. Drizzle sauce and sprinkle scallions and sesame seeds. I like miso soup or a simple cucumber salad on the side, plus cold green tea or a light lager.
Make-Ahead and Storage
- Make-ahead: Bread the cutlets and chill on a rack up to 12 hours; fry right before serving. You can also fry fully, cool, and reheat.
- Fridge: Store cooked katsu on a rack in an airtight container for 3 days. Keep rice and sauce separate.
- Freezer: Freeze cooked, cooled cutlets on a sheet pan, then bag for up to 2 months. Freeze rice in flat zip bags for easy reheating.
- Reheat: Use a 375°F oven or air fryer for 8–10 minutes until hot and crisp. Warm rice in the microwave with a damp paper towel or steam on the stovetop.
Nutrition Information
Calories: about 700 per serving (with rice and sauce). Protein sits around 35–40g from chicken, carbs land near 80–90g from rice and breading, and fat ranges 25–30g from frying oil and eggs. Numbers are estimates and shift with brands, oil absorption, and portion size.
Crispy Japanese Katsu Bowls
Ingredients
Instructions
- Pound the chicken breasts (or pork cutlets) to even thickness. Season both sides with salt and black pepper.
- Dredge each cutlet first in flour, then dip into beaten egg, and finally coat with panko breadcrumbs.
- Heat the vegetable oil in a large skillet over medium heat. Fry the breaded cutlets until golden brown and cooked through, about 3-4 minutes per side. Drain on a paper towel-lined plate.
- In a small bowl, whisk together ketchup, Worcestershire sauce, soy sauce, sugar, and Dijon mustard (if using) until smooth.
- Divide steamed rice among serving bowls.
- Slice the katsu cutlets and arrange on top of the rice.
- Top with shredded cabbage, julienned carrot, cucumber slices, and green onion.
- Drizzle with katsu sauce and serve immediately.