Butter mochi has a special place in my heart and my kitchen. This delightful treat is a sweet, chewy dessert that hails from Hawaii, combining the flavors of butter, coconut, and rice flour. I remember the first time I tried butter mochi at a family gathering. The rich, buttery taste and the chewy texture instantly captivated my taste buds. Since then, I’ve been on a mission to perfect my butter mochi recipe, and I can’t wait to share it with you.
What is Butter Mochi Recipe?
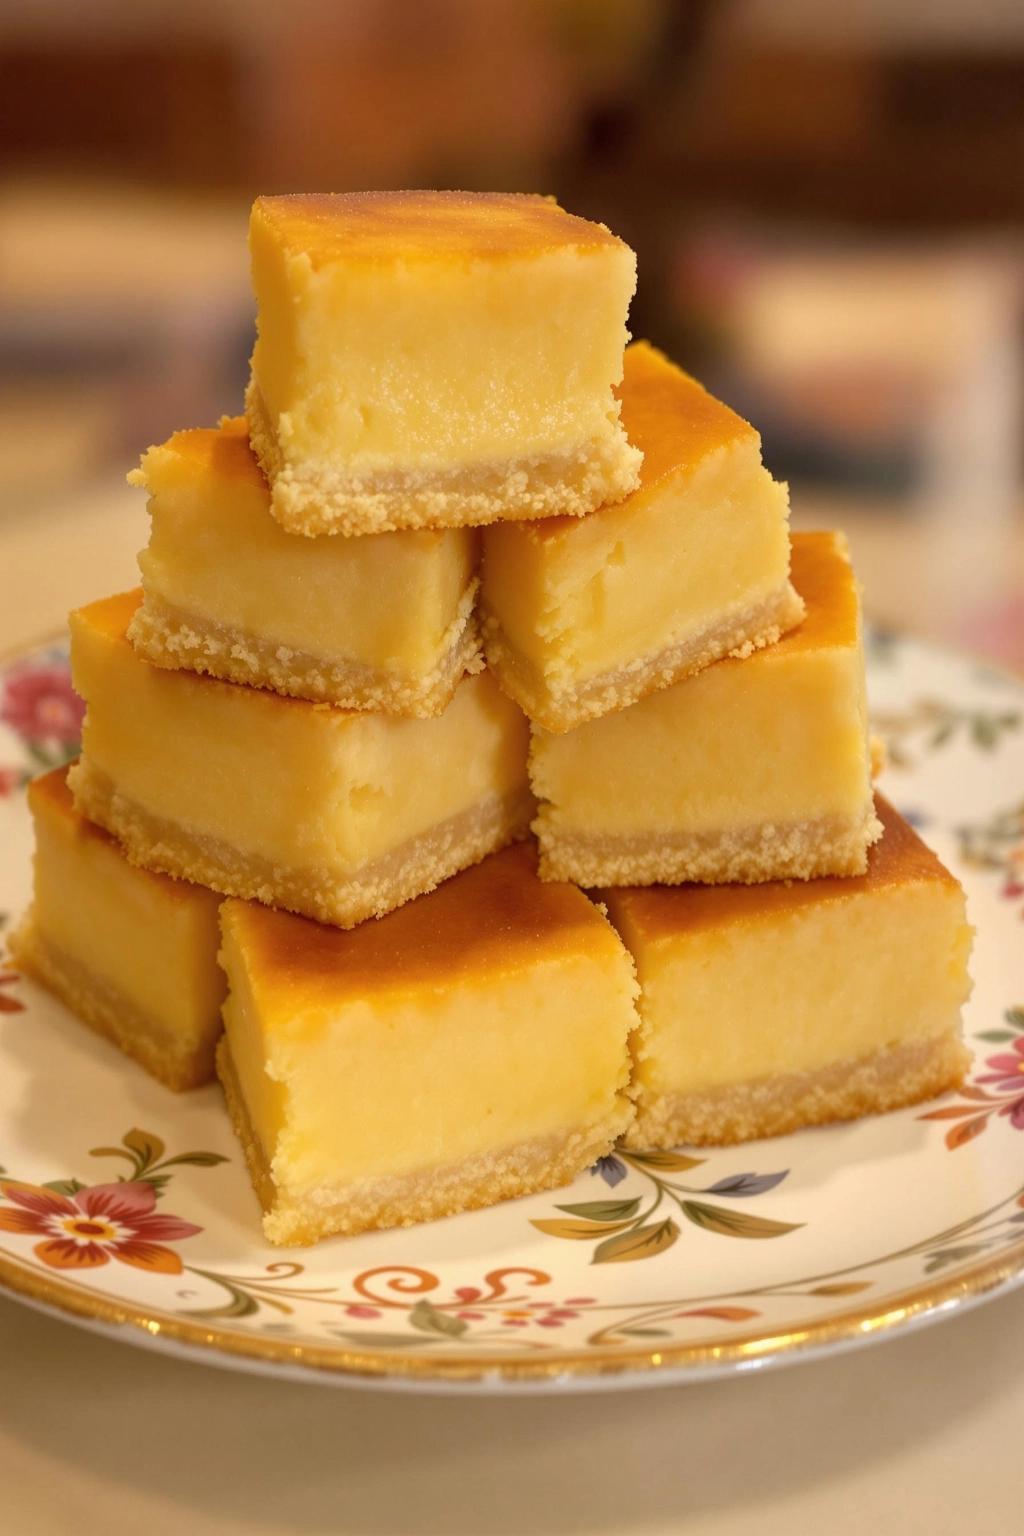
Butter mochi is a Hawaiian dessert made from glutinous rice flour, which gives it a unique chewy texture. The base ingredients include butter, sugar, coconut milk, and eggs. It’s often baked until golden brown, creating a deliciously sweet and slightly crispy top layer. This dessert is perfect for any occasion, whether it’s a potluck, birthday party, or just a cozy night at home.
Ingredients for Butter Mochi Recipe
To make this delicious butter mochi, you will need the following ingredients:
- 1 cup glutinous rice flour (also known as sweet rice flour)
- 1 cup sugar
- 1 teaspoon baking powder
- 1/2 teaspoon salt
- 1 cup coconut milk
- 1/4 cup unsalted butter, melted
- 3 large eggs
- 1 teaspoon vanilla extract
- Optional: shredded coconut for topping
How to Make Butter Mochi Recipe
Making butter mochi is simple and fun. Here’s a step-by-step guide that I follow every time I whip up this tasty treat.
Step 1: Preheat the Oven
Start by preheating your oven to 350°F (175°C). This ensures that your butter mochi bakes evenly and gets that perfect golden color.
Step 2: Prepare the Baking Dish
Grease an 8×8-inch baking dish with butter or cooking spray. This will help the mochi come out easily once it’s baked.
Step 3: Mix the Dry Ingredients
In a large mixing bowl, combine the glutinous rice flour, sugar, baking powder, and salt. Whisk these ingredients together until they are well mixed. This step is crucial for ensuring that the sugar and baking powder are evenly distributed throughout the batter.
Step 4: Combine the Wet Ingredients
In another bowl, whisk together the coconut milk, melted butter, eggs, and vanilla extract. Make sure everything is well blended. The combination of coconut milk and butter gives the mochi its rich flavor.
Step 5: Combine Wet and Dry Ingredients
Pour the wet mixture into the dry ingredients. Stir gently until just combined. Be careful not to overmix, as this can affect the texture of the mochi.
Step 6: Pour into Baking Dish
Pour the batter into the prepared baking dish. If you like, you can sprinkle shredded coconut on top for added texture and flavor.
Step 7: Bake the Butter Mochi
Bake in the preheated oven for about 45-50 minutes. The mochi is done when the top is golden brown and a toothpick inserted into the center comes out clean. The aroma of baking mochi will fill your kitchen, and you’ll be tempted to sneak a taste!
Step 8: Cool and Slice
Once baked, remove the dish from the oven and let it cool for about 10-15 minutes. Once cooled, slice the butter mochi into squares. It’s best served warm or at room temperature.
Tips for Butter Mochi Recipe
Over the years, I have learned a few tips that can help you achieve the best butter mochi.
- Use Fresh Ingredients: Always use fresh eggs and coconut milk for the best flavor. Avoid using canned coconut milk that has been sitting in your pantry for too long.
- Don’t Overmix: Be gentle when mixing the batter. Overmixing can make your mochi tough instead of chewy.
- Experiment with Flavors: Feel free to add different flavors to your butter mochi. Matcha powder, chocolate chips, or even fruit purees can add a fun twist.
- Storage: Store leftover butter mochi in an airtight container at room temperature for up to 3 days. You can also freeze it for longer storage.
Why You’ll Love Butter Mochi Recipe
There are so many reasons to love butter mochi. The texture is chewy and satisfying, while the flavor is rich and buttery. It’s a great dessert to share with friends and family, and it’s sure to impress anyone who tries it. Plus, the recipe is easy enough for anyone to make, even if you’re not an experienced baker.
Serving Suggestions for Butter Mochi
Butter mochi can be enjoyed in various ways. Here are some ideas for serving it:
- With Ice Cream: Top your butter mochi with a scoop of your favorite ice cream. The combination of warm mochi and cold ice cream is heavenly.
- With Fresh Fruit: Serve with sliced strawberries or mango for a refreshing contrast to the rich mochi.
- Drizzle with Chocolate Sauce: For a decadent treat, drizzle melted chocolate or caramel sauce over the top.
- As a Snack: Butter mochi makes for a great snack any time of day. Just cut it into bite-sized pieces and enjoy!
Variations of Butter Mochi Recipe
Butter mochi is versatile, and you can customize it to suit your taste. Here are a few variations to consider:
- Chocolate Butter Mochi: Add cocoa powder to the dry ingredients for a chocolatey twist. You can also mix in chocolate chips for extra indulgence.
- Matcha Butter Mochi: Add matcha powder to the batter for a unique flavor and beautiful green color. This variation is perfect for matcha lovers.
- Fruit-Infused Butter Mochi: Incorporate fruit puree, like mango or strawberry, into the batter for a fruity flavor. You can also fold in fresh fruit chunks.
Common Questions About Butter Mochi
Can I Make Butter Mochi Ahead of Time?
Yes, you can prepare butter mochi ahead of time. Just bake it, let it cool, and store it in an airtight container until you’re ready to serve it. It can be enjoyed for several days.
Can I Use Regular Rice Flour Instead of Glutinous Rice Flour?
No, glutinous rice flour is essential for achieving the chewy texture that butter mochi is known for. Regular rice flour will not provide the same results.
Is Butter Mochi Gluten-Free?
Yes, butter mochi is gluten-free as long as you use glutinous rice flour and ensure that all other ingredients are also gluten-free.
Butter mochi has become a beloved dessert in my home, and I hope it finds a special place in yours too. The simple ingredients and easy preparation make it a go-to recipe for any occasion. Whether you stick to the classic version or try one of the variations, I guarantee you will enjoy every bite. So gather your ingredients and start making your own butter mochi today!