Japanese cheesecake with yoghurt is one of my favorite desserts. It’s light, fluffy, and has a delightful tang from the yoghurt. I remember the first time I tried it at a small café in Tokyo. The texture was unlike any cheesecake I had ever tasted. It was soft, airy, and just melted in my mouth. Ever since that day, I have been on a mission to recreate that experience at home. Today, I want to share my version of this delicious treat with all of you.
What Makes Japanese Cheesecake Unique?
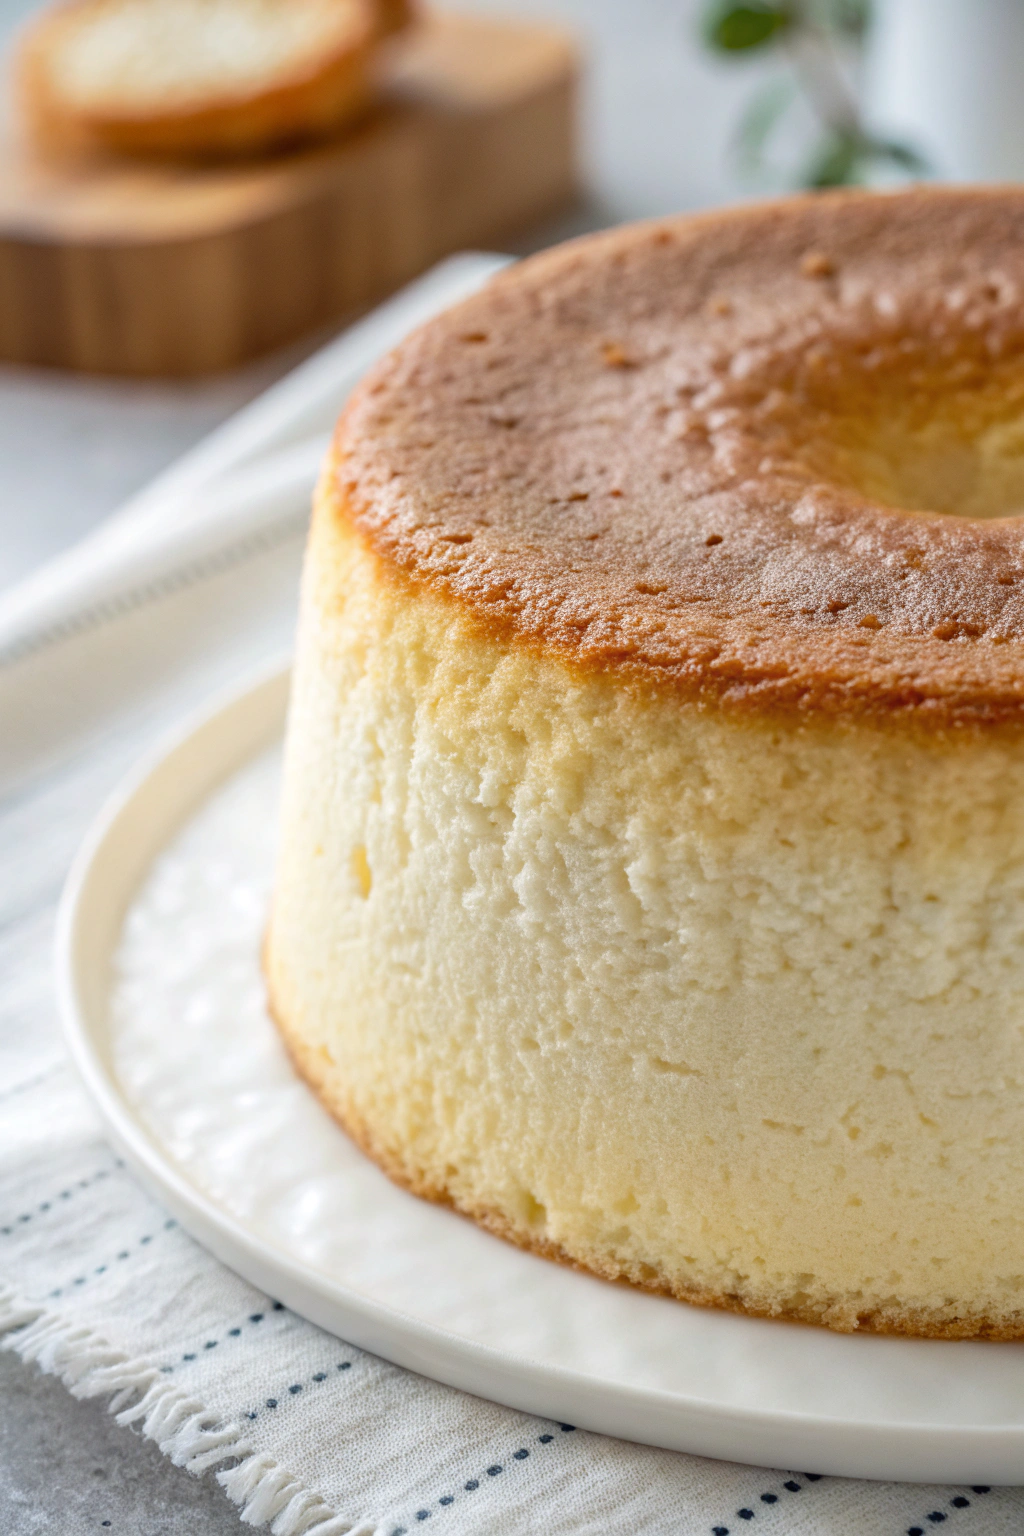
Japanese cheesecake stands out for its unique texture. Unlike traditional cheesecakes, which can be dense and heavy, Japanese cheesecake is light and fluffy. The incorporation of egg whites whipped to soft peaks gives it that airy quality. The addition of yoghurt adds a subtle tang, making it refreshing and not overly sweet.
Ingredients for Japanese Cheesecake with Yoghurt
To make this delicious cheesecake, you will need the following ingredients:
- 8 oz cream cheese, softened
- 1/2 cup plain yoghurt
- 1/4 cup granulated sugar
- 3 large eggs, separated
- 1/4 cup milk
- 1 tsp vanilla extract
- 1/4 cup all-purpose flour
- 1/2 tsp baking powder
- A pinch of salt
- Powdered sugar for dusting (optional)
How to Make Japanese Cheesecake with Yoghurt
1. Preparing the Baking Pan
Start by preheating your oven to 320°F (160°C). I prefer using a round 8-inch cake pan for this recipe. Grease the pan lightly with butter or cooking spray. To ensure easy removal, line the bottom with parchment paper.
2. Mixing the Cream Cheese and Yoghurt
In a large mixing bowl, combine the softened cream cheese and plain yoghurt. Use a hand mixer or a whisk to blend until smooth and creamy. This step is essential as it creates the base for your cheesecake.
3. Adding Sugar and Egg Yolks
Next, add the granulated sugar and egg yolks to the cream cheese mixture. Mix until everything is well combined. The sugar not only sweetens the cheesecake but also helps in achieving a smooth texture.
4. Incorporating Milk and Vanilla
Pour in the milk and vanilla extract. Mix until fully incorporated. The milk adds moisture to the cheesecake, while the vanilla enhances the flavor.
5. Sifting in Flour and Baking Powder
Now it’s time to sift in the all-purpose flour and baking powder. This step helps to avoid lumps and ensures a light texture. Gently fold the dry ingredients into the wet mixture until just combined.
6. Whipping Egg Whites
In a separate bowl, beat the egg whites until soft peaks form. This is a crucial step for achieving that fluffy texture. Be patient and take your time while whipping. The egg whites should be glossy and hold their shape.
7. Folding in the Egg Whites
Gently fold the whipped egg whites into the cheesecake batter. Use a spatula and incorporate the egg whites in three additions. Be careful not to deflate them, as they are responsible for the lightness of the cake.
8. Pouring the Batter into the Pan
Once the batter is ready, pour it into the prepared cake pan. Smooth the top with a spatula. To avoid cracks while baking, tap the pan gently on the counter to release any air bubbles.
9. Baking the Cheesecake
Place the cake pan in the preheated oven. Bake for about 40-50 minutes or until the top is lightly golden and a toothpick inserted in the center comes out clean. The cheesecake will puff up during baking but will deflate slightly as it cools.
10. Cooling the Cheesecake
Once baked, turn off the oven and leave the cheesecake inside for about 10 minutes with the door slightly ajar. This gradual cooling helps prevent cracks. After that, remove the cheesecake from the oven and let it cool completely at room temperature.
11. Chilling the Cheesecake
Once cooled, refrigerate the cheesecake for at least 2 hours before serving. Chilling enhances the flavors and makes it easier to slice. You can also leave it overnight for the best results.
12. Serving the Cheesecake
Before serving, dust the top with powdered sugar for a beautiful finish. Slice the cheesecake into wedges and enjoy it plain or with fresh fruit on the side. The lightness of the cheesecake pairs perfectly with the sweetness of berries.
Tips
To achieve the best results, keep these tips in mind:
- Use room temperature ingredients: This helps create a smoother batter.
- Be gentle when folding: Avoid deflating the egg whites to maintain the fluffiness.
- Monitor baking time: Every oven is different, so keep an eye on the cheesecake to prevent overbaking.
- Experiment with flavors: Feel free to add lemon zest or matcha powder for a unique twist.
Common Mistakes to Avoid
While making Japanese cheesecake with yoghurt is straightforward, here are some common mistakes to avoid:
- Overmixing the batter: This can lead to a dense cheesecake.
- Not whipping egg whites enough: Under-whipped egg whites will not provide the desired fluffiness.
- Skipping the cooling step: Rapid temperature changes can cause cracks in the cheesecake.
Storing Leftover Cheesecake
If you have any leftovers (which is rare, trust me), store them in an airtight container in the refrigerator. The cheesecake will stay fresh for about 3-4 days. You can also freeze slices for later enjoyment. Just wrap them tightly in plastic wrap and place them in a freezer-safe container.
Why You’ll Love Japanese cheesecake with yoghurt
Japanese cheesecake with yoghurt is a delightful dessert that’s perfect for any occasion. Its light and fluffy texture makes it a favorite among family and friends. Plus, it’s easy to make and requires simple ingredients that you probably already have at home. I love serving it at gatherings or enjoying a slice with my morning coffee.
This cheesecake is a wonderful way to impress your guests while keeping things simple. I hope you enjoy making and sharing this delightful dessert as much as I do.