I have always been a fan of unique flavors, and that’s why I am excited to share my Dr Pepper Jelly Recipe with you. This jelly brings a delightful twist to traditional spreads, combining the classic taste of Dr Pepper with the sweet and tangy notes of jelly. I remember the first time I made this jelly; I was amazed at how well the flavors blended together. It became an instant hit at family gatherings and breakfast tables. So, let’s dive into this fun and delicious recipe.
What is Dr Pepper Jelly?
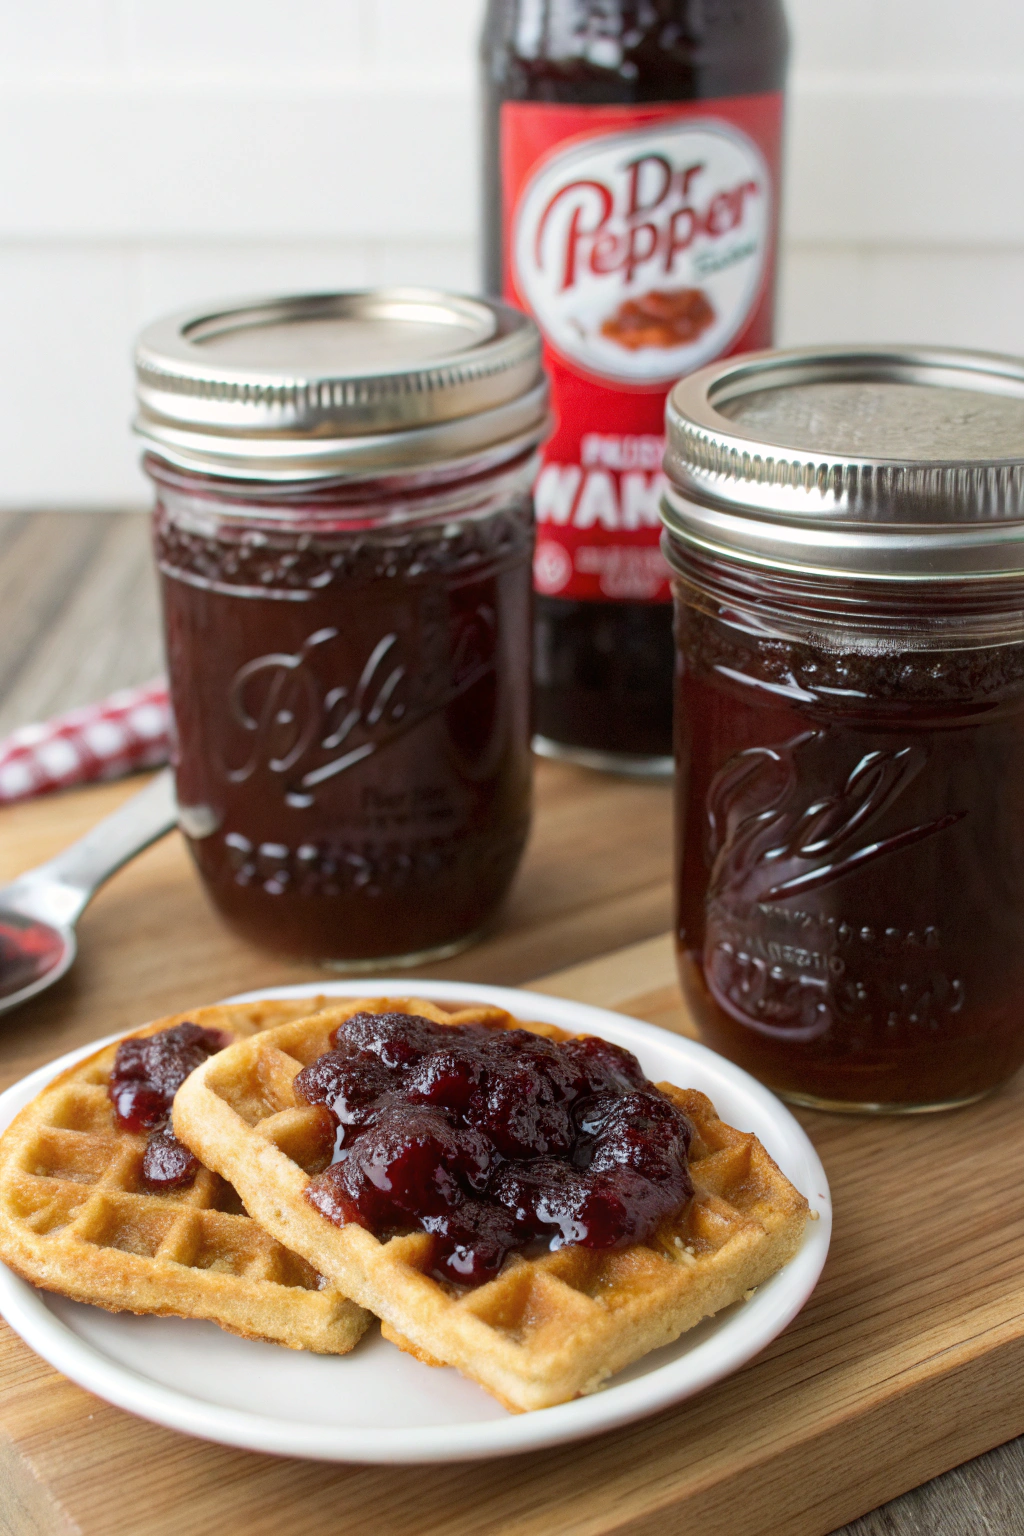
Dr Pepper Jelly is a sweet spread made from the iconic soft drink, Dr Pepper. It captures the unique blend of flavors that the drink is known for, including hints of cherry, vanilla, and spices. This jelly is perfect for spreading on toast, biscuits, or even using as a glaze for meats. The possibilities are endless!
Why You Should Try Dr Pepper Jelly Recipe
There are several reasons to give this jelly a try:
- Unique Flavor: Dr Pepper brings a unique taste that is hard to replicate.
- Versatile Use: Use it on breakfast items, desserts, or as a glaze.
- Easy to Make: With just a few simple ingredients, you can whip this up in no time.
- Great Gift Idea: Homemade jelly makes for a thoughtful gift.
Ingredients for Dr Pepper Jelly Recipe
To make this jelly, you will need the following ingredients:
- 2 cups Dr Pepper (the classic version)
- 1 cup granulated sugar
- 1/4 cup lemon juice (freshly squeezed is best)
- 1 package fruit pectin (like Sure-Jell)
- 1/2 teaspoon butter (optional, helps reduce foaming)
How to Make Dr Pepper Jelly
Making Dr Pepper Jelly is quite simple. Here’s a step-by-step guide to help you through the process.
Step 1: Prepare Your Jars
Start by sterilizing your jars. You can do this by placing them in boiling water for about 10 minutes. This ensures that your jelly stays fresh longer.
Step 2: Combine Ingredients
In a medium-sized pot, combine the 2 cups of Dr Pepper, 1 cup of sugar, and 1/4 cup of lemon juice. Stir gently to mix everything together.
Step 3: Add Pectin
Next, sprinkle the package of fruit pectin over the mixture. Stir it in well, making sure there are no lumps.
Step 4: Heat the Mixture
Place the pot on the stove over medium heat. Bring the mixture to a boil, stirring constantly. It’s important to keep stirring to prevent it from sticking to the bottom of the pot.
Step 5: Boil
Once it reaches a rolling boil, let it boil for about 1-2 minutes. You want to ensure that the pectin is fully dissolved and the mixture thickens slightly.
Step 6: Skim Off Foam
If you added butter, this step will be easier. Skim off any foam that forms on the top. This step is optional but helps improve the jelly’s appearance.
Step 7: Fill the Jars
Carefully pour the hot jelly into your prepared jars, leaving about 1/4 inch of headspace at the top. Wipe the rims of the jars with a clean cloth to remove any spills.
Step 8: Seal the Jars
Place the lids on the jars and screw on the bands until they are fingertip-tight.
Step 9: Process the Jars
To ensure your jelly is sealed properly, process the jars in a boiling water bath for about 5-10 minutes. This step is crucial for long-term storage.
Step 10: Cool and Store
Remove the jars from the water bath and let them cool completely on a clean towel or rack. After a few hours, check the seals. If the lid pops back when pressed, it’s not sealed properly. Store sealed jars in a cool, dark place.
Tips for Making Dr Pepper Jelly Recipe
Here are some tips I’ve learned over the years to make the best jelly:
- Use Fresh Ingredients: Fresh lemon juice will enhance the flavor.
- Don’t Rush the Boiling: Make sure to bring the mixture to a full boil.
- Adjust Sweetness: You can adjust the sugar based on your taste preference.
- Experiment with Flavors: Try adding spices like cinnamon or nutmeg for a different twist.
Serving Suggestions for Dr Pepper Jelly
Now that you have your Dr Pepper Jelly ready, how can you enjoy it? Here are some of my favorite ways:
- On Toast: Spread it on warm toast or bagels for a sweet breakfast treat.
- With Cheese: Serve it alongside cheese and crackers for a delicious appetizer.
- As a Glaze: Brush it on grilled chicken or pork for a sweet and tangy glaze.
- In Desserts: Use it as a filling for pastries or drizzled over ice cream.
Storage Tips for Dr Pepper Jelly
To keep your jelly fresh, store it in a cool, dark place. Once opened, keep it in the refrigerator and consume it within a few weeks. If you notice any signs of spoilage, such as an off smell or mold, discard it immediately.
FAQs:
Can I Use Diet Dr Pepper?
Yes, you can use Diet Dr Pepper for a lower-calorie option. The texture and flavor may differ slightly, but it will still be delicious.
How Long Does Dr Pepper Jelly Last?
When sealed properly and stored in a cool place, it can last for up to a year. Once opened, keep it in the fridge and use it within 3-4 weeks.
Can I Double the Recipe?
Absolutely! Just make sure to use a larger pot to accommodate the increased volume.
Why You Will Love Dr Pepper Jelly Recipe
Dr Pepper Jelly is a fun and exciting way to enjoy a beloved soft drink. It adds a unique twist to your meals and snacks, making them more enjoyable. Plus, the satisfaction of making your own jelly is unbeatable.
I hope you give this Dr Pepper Jelly Recipe a try. It’s a great way to bring a taste of nostalgia to your kitchen while creating something new and delicious.