I first fell for this Oyakodon Japanese Chicken Egg Rice Bowl Recipe during a late-night shift meal, and it fast became my weeknight comfort move. It tastes savory-sweet with tender chicken, silky egg, and steamy rice; it suits busy cooks and comfort-seekers, and it takes about 25 minutes start to finish.
Easy Oyakodon Japanese Chicken Egg Rice Bowl Recipe
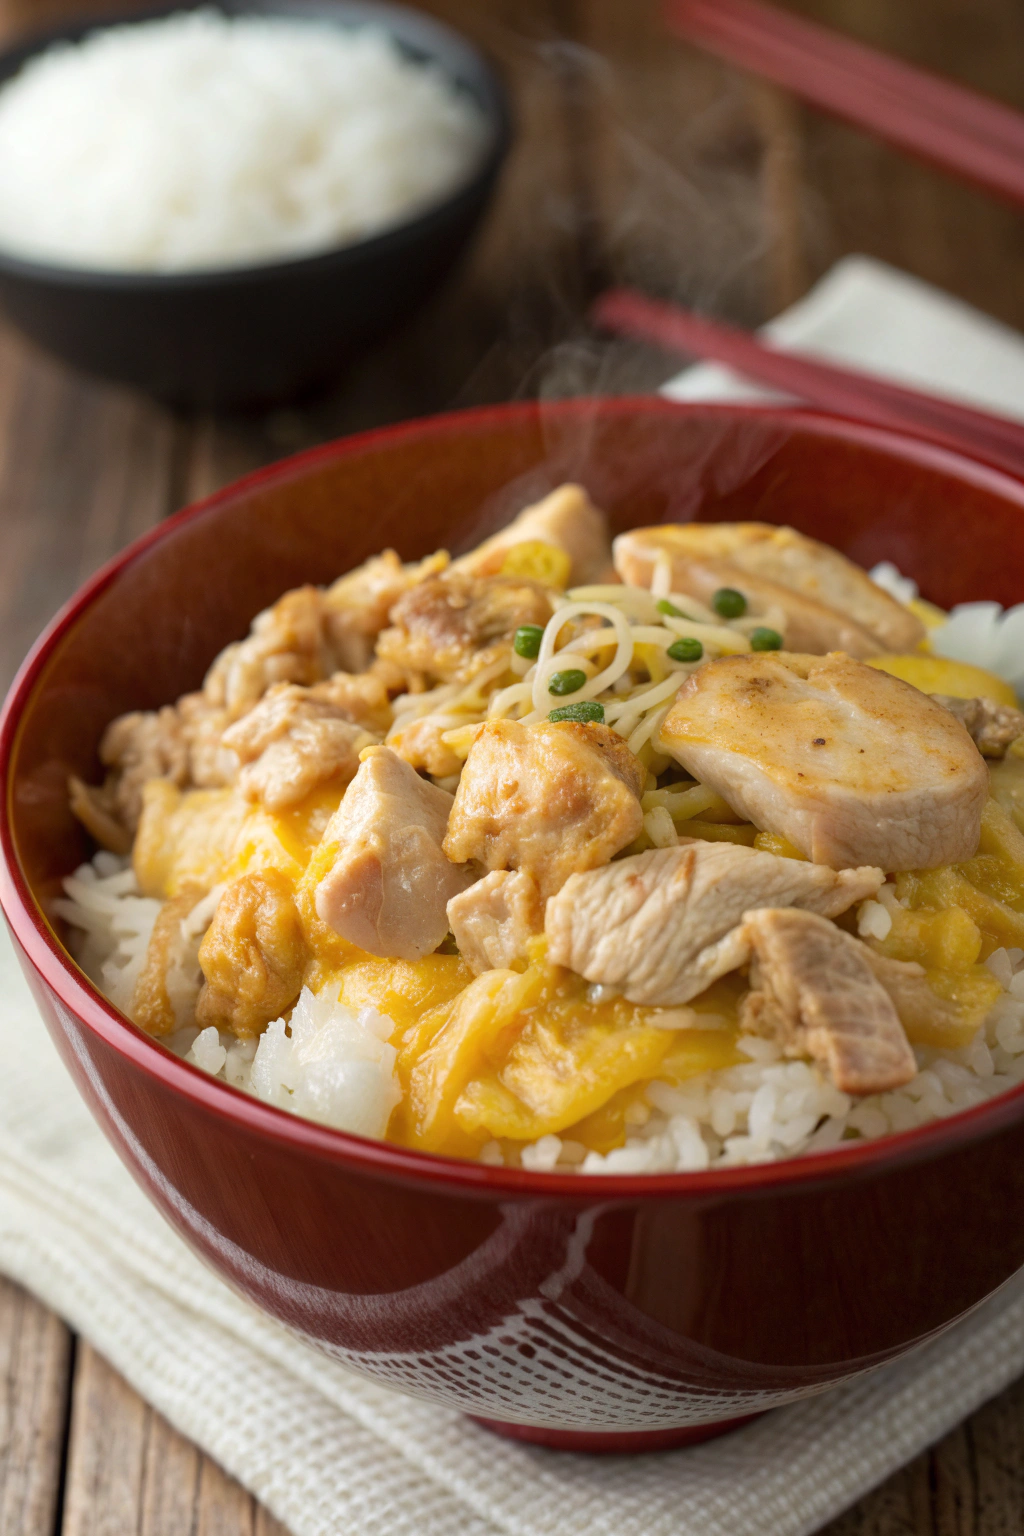
Oyakodon Japanese Chicken Egg Rice Bowl Recipe hits that cozy spot because the broth balances soy, mirin, and dashi in a sweet-salty harmony. You simmer onion until tender, so it melts into the sauce and perfumes every bite. The two-stage egg pour gives that custardy top you spoon straight over hot rice.
Ingredients You’ll Need
- Cooked Japanese short-grain rice: 3 cups hot (about 2 bowls). Use leftover rice you warmed gently for a shortcut.
- Chicken thighs: 10–12 oz (280–340 g), boneless, skinless, cut into bite-size pieces. Thighs stay juicy; chicken breast works if you cut it small.
- Onion: 1 small, thinly sliced.
- Eggs: 3 large, lightly beaten with chopsticks or a fork.
- Dashi stock: 1 cup. Shortcut: 1 cup water + 1 tsp Hondashi granules (Ajinomoto).
- Soy sauce: 3 tbsp. Kikkoman or a light soy both work; use low-sodium if you prefer.
- Mirin: 2 tbsp. Use hon-mirin (Takara/Eden); if using aji-mirin, you may need a touch less sugar.
- Sake: 2 tbsp. If you avoid alcohol, add 2 tbsp extra dashi and a pinch more sugar.
- Sugar: 2 tsp, to taste.
- Scallions or mitsuba: 1–2 stalks, sliced, for garnish.
- Optional: Shichimi togarashi or a small knob of butter for a glossy finish.
Equipment:
- 8–9 inch nonstick skillet with lid (or an oyakodon pan).
- Rice cooker or pot for rice.
- Measuring cup/spoons, small bowl for eggs, chopsticks or spatula.
How to Make Oyakodon Japanese Chicken Egg Rice Bowl
- Prep: 10 minutes
- Cook: 15 minutes
- Total: 25 minutes
- Cook the rice
- Start with hot, steamy rice in two bowls. If using leftover rice, splash in a bit of water and warm it until fluffy.
- Build the broth
- In your skillet, combine dashi, soy sauce, mirin, sake, and sugar. Add the sliced onion, bring to a gentle simmer, and cook until the onion turns translucent and sweet, about 4–5 minutes.
- Simmer the chicken
- Add chicken in an even layer. Simmer gently until the chicken turns opaque and tender, about 4–5 minutes. Keep bubbles modest so the broth stays clear and tasty.
- Add the eggs in two pours
- Reduce heat to low. Pour in about two-thirds of the beaten eggs, moving chopsticks once or twice to form tender curds. Cover and cook just until the eggs look softly set, 30–45 seconds.
- Pour in the remaining eggs and scatter scallions. Cover again for 20–30 seconds until the eggs look barely set and still jiggly. Slide a knob of butter in now if you want extra gloss.
- Serve
- Spoon half the chicken-egg mixture over each bowl of rice, making sure you ladle that savory broth too. Add more scallions or a pinch of shichimi togarashi and dig in.
Expert tips & Mistakes to Avoid
- Keep the simmer gentle; a hard boil toughens chicken and turns the broth harsh.
- Slice onion thin for even cooking and sweeter flavor in less time.
- Use thighs for juiciness; if you use breast, cut smaller and simmer a minute less.
- Beat eggs lightly; streaks of white and yolk give that classic custardy look.
- Pour eggs in two stages for a soft top and tender curds underneath.
- Warm the rice bowls so the eggs stay silky when you serve.
- Taste the broth before eggs; adjust soy or sugar to your favorite balance.
- Cook one bowl at a time for peak texture if you own a small pan; split the ingredients in half.
Variations To Try
- Gluten-free: Use tamari, gluten-free Hondashi, and a mirin with no wheat-based additives.
- Lower sodium: Use low-sodium soy and add a tiny splash more at the end if you need it.
- Dairy-free gloss: Skip butter and drizzle a few drops of toasted sesame oil.
- Vegan-style: Use kombu–shiitake dashi, mushrooms or tofu cubes for the protein, and a plant-based egg substitute or soft tofu scramble.
- Add-ins: Toss in sliced shiitake, spinach, or peas; finish with yuzu kosho for a citrusy kick.
- Different proteins: Try salmon cubes for a fish version or go tanindon-style with thinly sliced beef.
How to Serve Oyakodon Japanese Chicken Egg Rice Bowl
Spoon the chicken, eggs, and broth over hot rice in a warm bowl. Top with scallions, a little nori, and a pinch of shichimi togarashi. Pair it with miso soup, quick cucumber pickles, and hot green tea for a simple set that feels like a hug.
Make-Ahead and Storage
- Batch the base: Cook the onion and chicken in the broth, cool, and stash it for up to 3 days. Rewarm, then add fresh eggs when you serve.
- Leftovers: Store the rice and topping separately when you can, up to 1 day in the fridge.
- Reheat: Simmer the topping with a splash of dashi until hot, then add a fresh beaten egg for 20–30 seconds. For the microwave, cover and heat at 50% power in short bursts.
- Freezer: Freeze the chicken-onion base (no eggs) for up to 2 months; thaw overnight and finish with fresh eggs.
Nutrition Information
Calories: about 640 per serving (recipe makes 2 servings). Approximate macros: Protein ~37 g from chicken and eggs; Carbs ~80 g mainly from rice; Fat ~18 g mostly from chicken thighs and egg yolks.
Oyakodon (Japanese Chicken and Egg Rice Bowl
Ingredients
Instructions
- Combine dashi, soy sauce, mirin, sake, and sugar in a small skillet or frying pan. Bring to a gentle simmer over medium heat.
- Add onion slices and simmer until softened, about 3–4 minutes.
- Add chicken pieces and cook until no longer pink, about 5 minutes.
- Pour the beaten eggs evenly over the chicken and onions. Cover and cook on low heat until the eggs are just set but still slightly runny, about 1–2 minutes.
- Spoon hot rice into individual serving bowls. Gently slide the chicken and egg mixture over the rice.
- Garnish with chopped green onions and shichimi togarashi if desired. Serve immediately.